Control AWS costs with these 3 cost allocation tags

Let’s start by establishing one simple thing: tags are very important. They add an additional dimension to your cost analysis on AWS and allow you to dice and slice your reports in the Cost Explorer based on your specific use cases and workloads.
However, before you implement this cost allocation strategy, you need to have some tags.
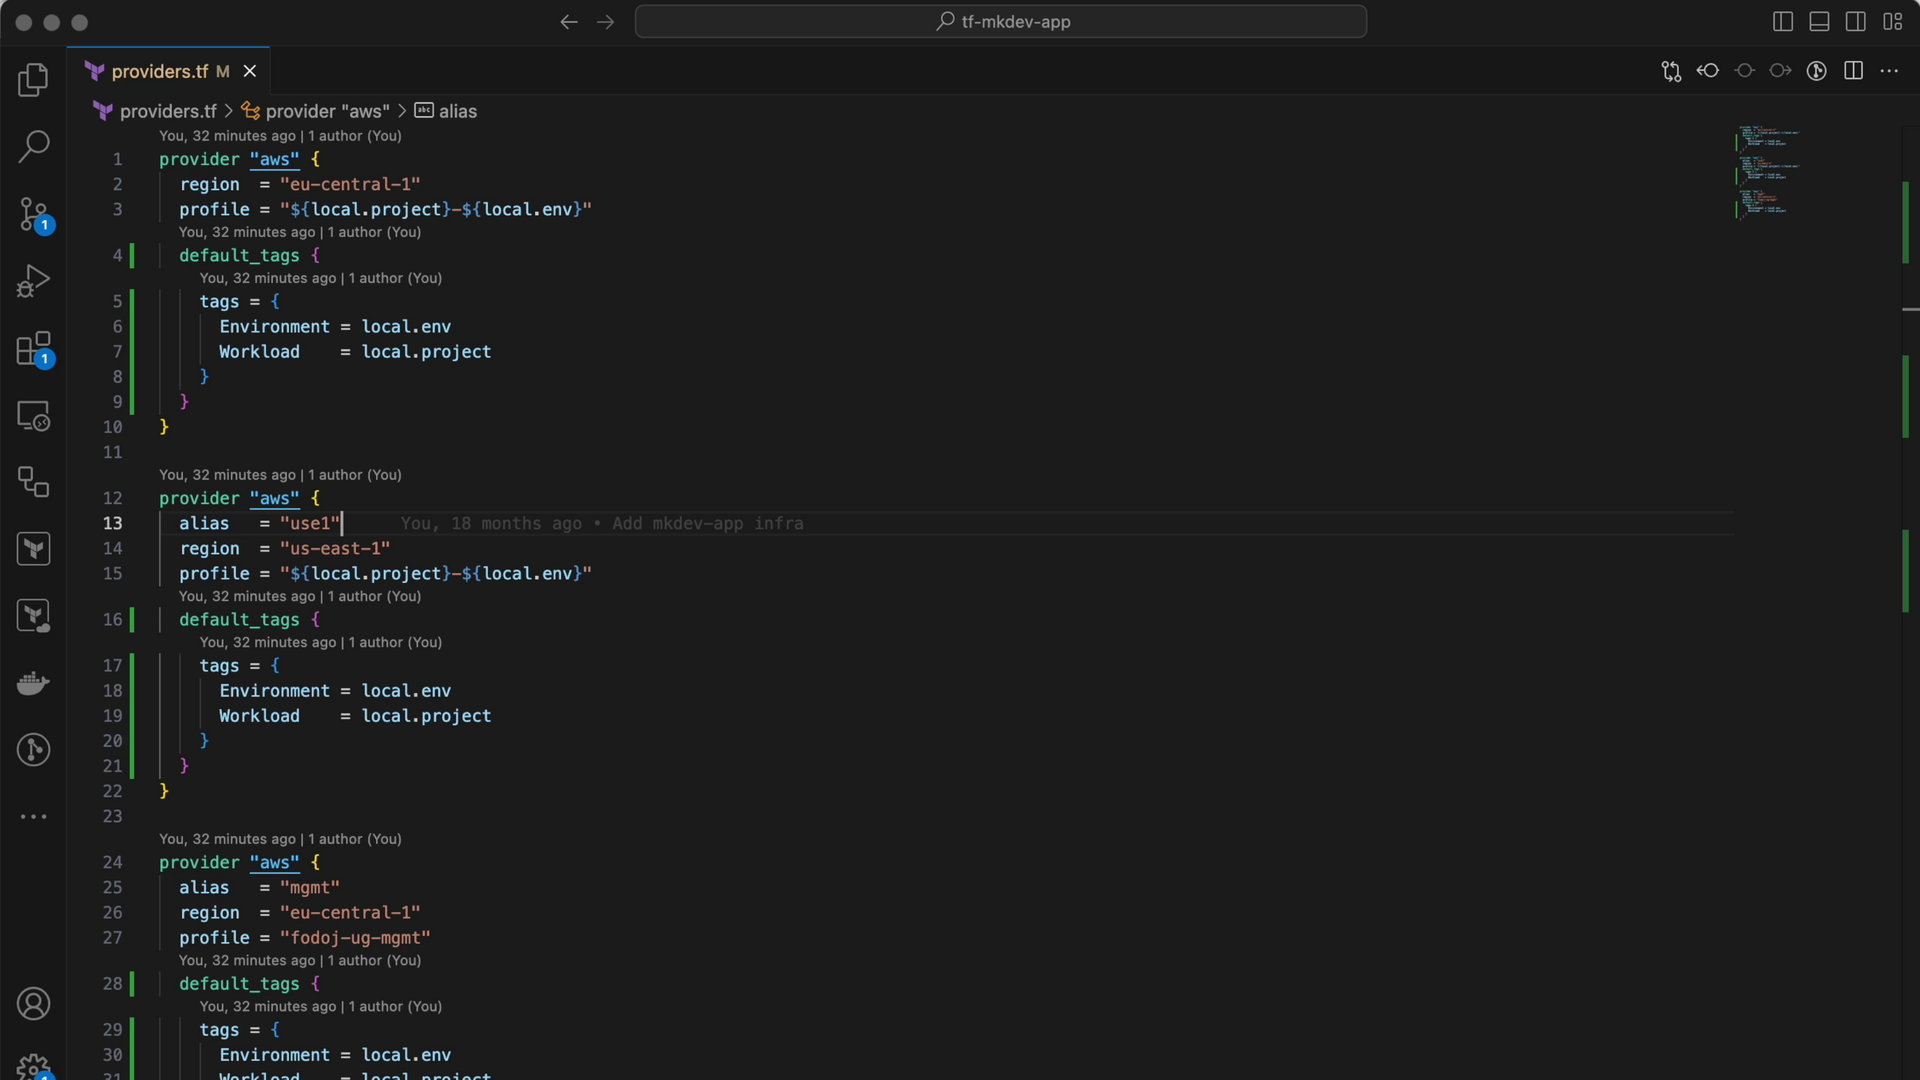
It's critical that you tag all of your AWS resources properly and consistently. The easiest way to achieve this with Terraform, as you will see above, is to use the default tags attribute on providers. Basically, when you set the default tags on the provider, Terraform will automatically apply these tags to all of the resources that support tagging. Of course, that’s not enough. You still need to tag individual resources with some extra tags, but that's a good baseline to ensure that all of your resources within a particular code repository adhere to the same tagging convention.
I like to start small, especially if you're a small company. You don’t need a too sophisticated tagging concept and can basically get by with only three tags: environment, workload, and name. I don’t set the name here because the name is something that you really set per resource or per smaller group of resources. But environment is something that is kind of global.
So, it might be like dev, stage, production, etc. And the workload is, for example, your application.
So in this case, because I'm inside the code repository for Terraform resources of mkdev application itself, the workload would be mkdev. This makes it easy for me to find all resources that belong to the mkdev application. Then, knowing these tags, I just set default tags for all the providers that I have here. I have three because we are using CloudFront, which is always in US-East-1, and the rest of our resources are in EU-Central-1.
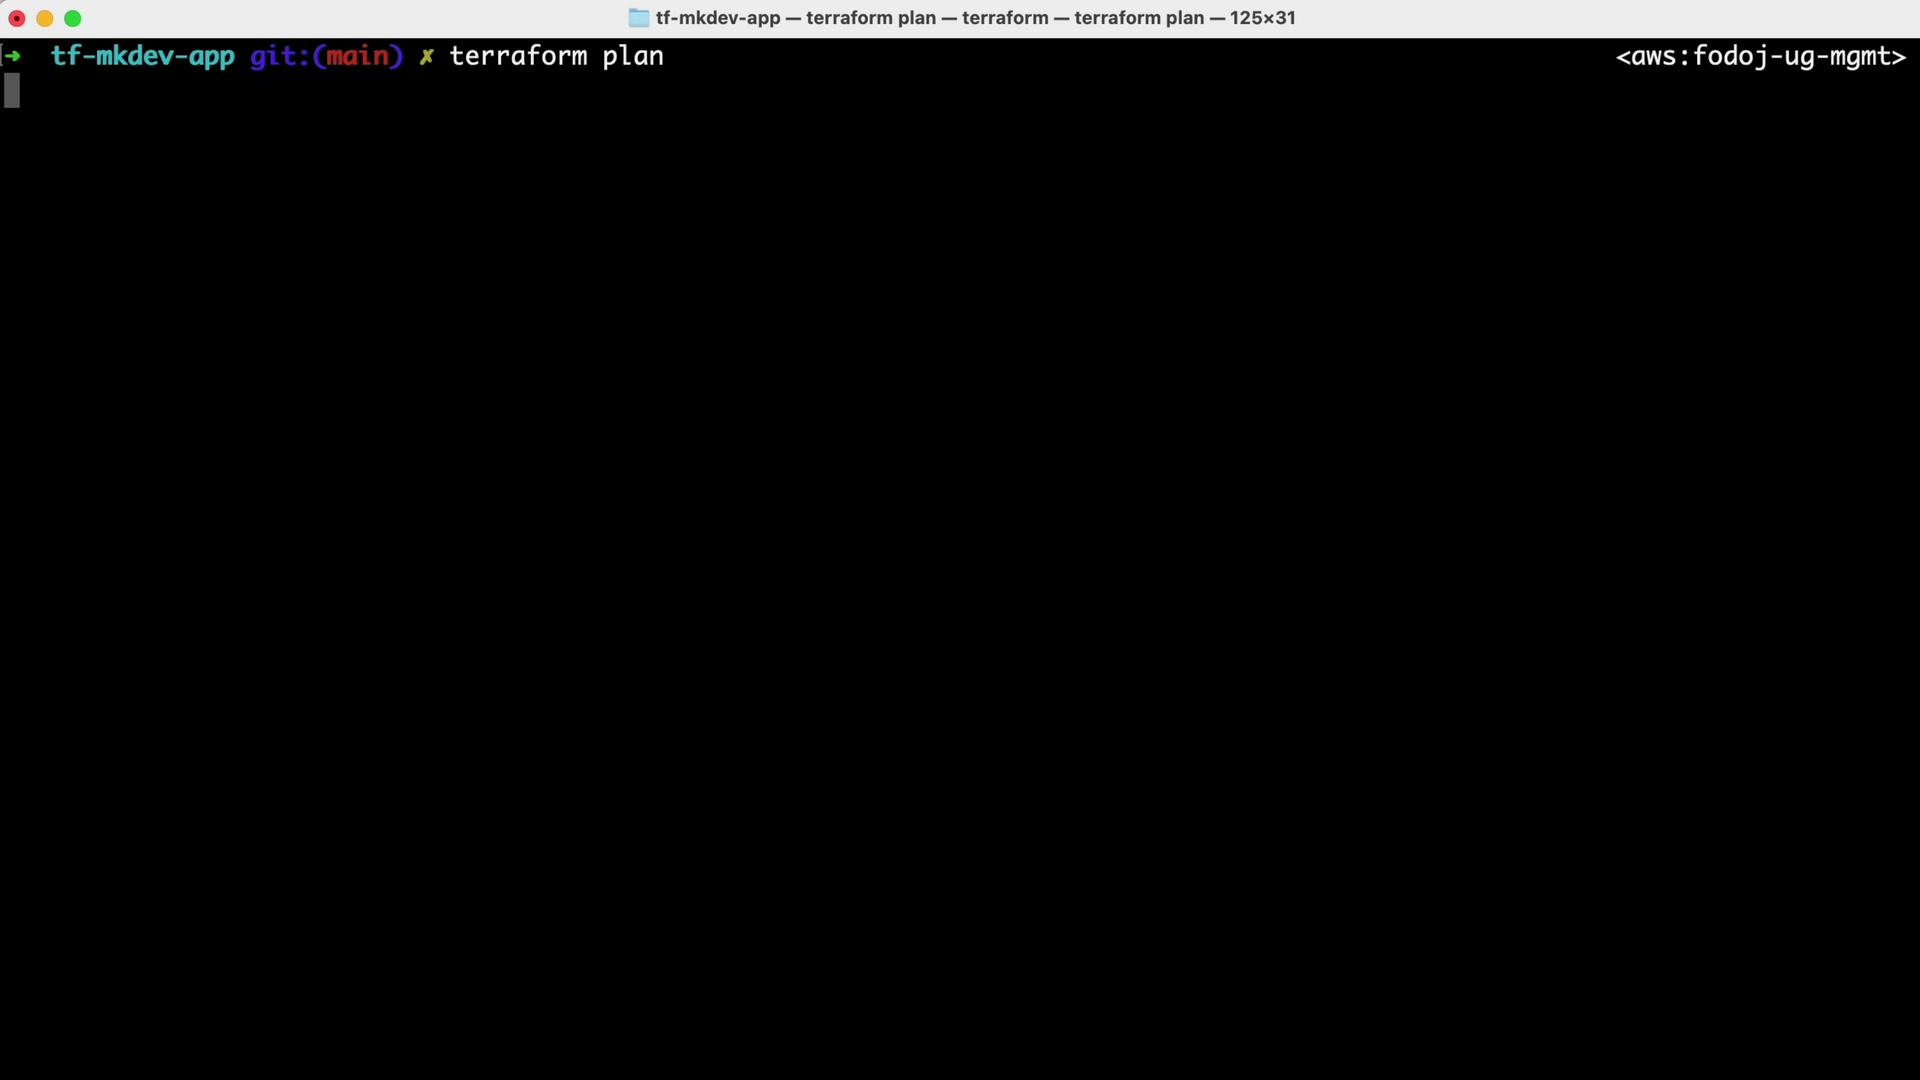
Now let's see what happens when I run terraform plan.
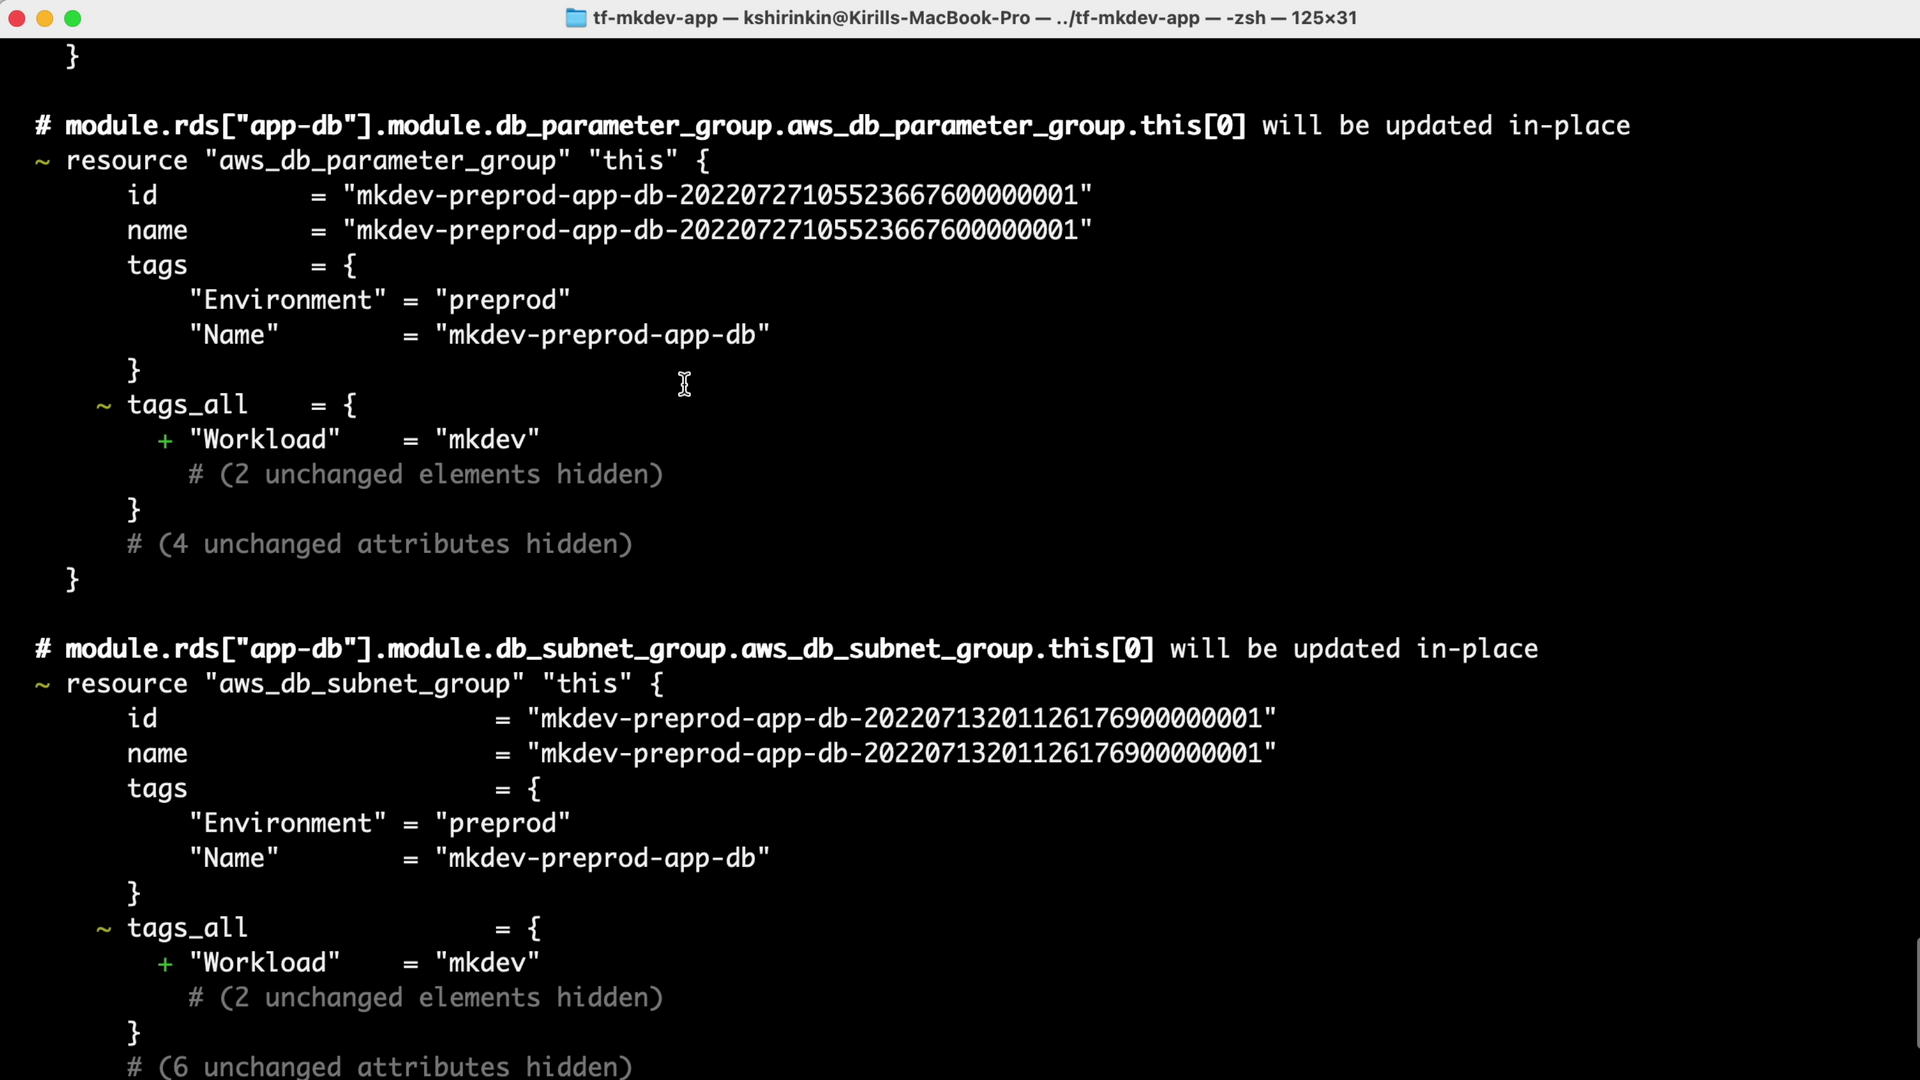
What happens is that it will add a workload tag to resources that don't have a workload tag yet, and it will add an environment tag to resources that don’t have it yet as well:
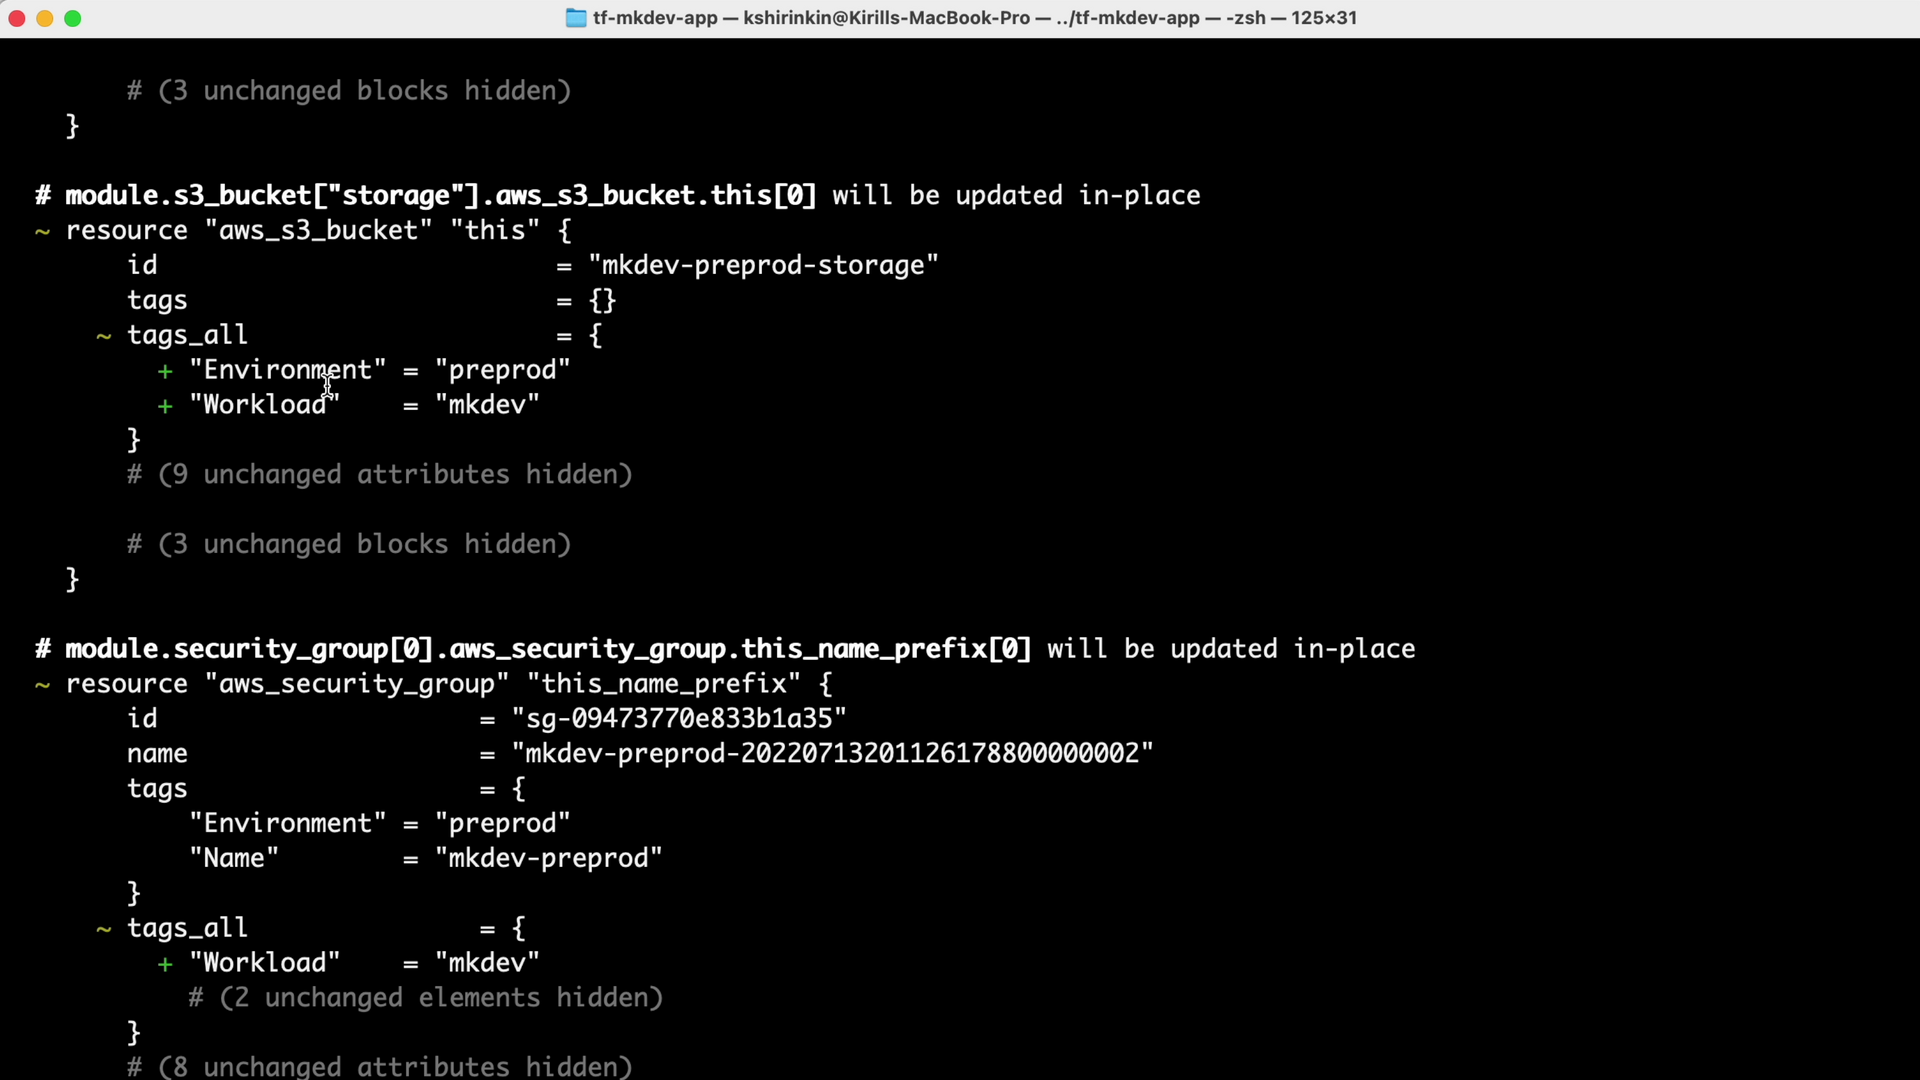
Some of the resources I have already have the environment tag. So, therefore, we will not add it to this environment once again. Once I apply this code, I can go to the AWS Console to Billing and Cost Management, Cost Allocation Tags section:
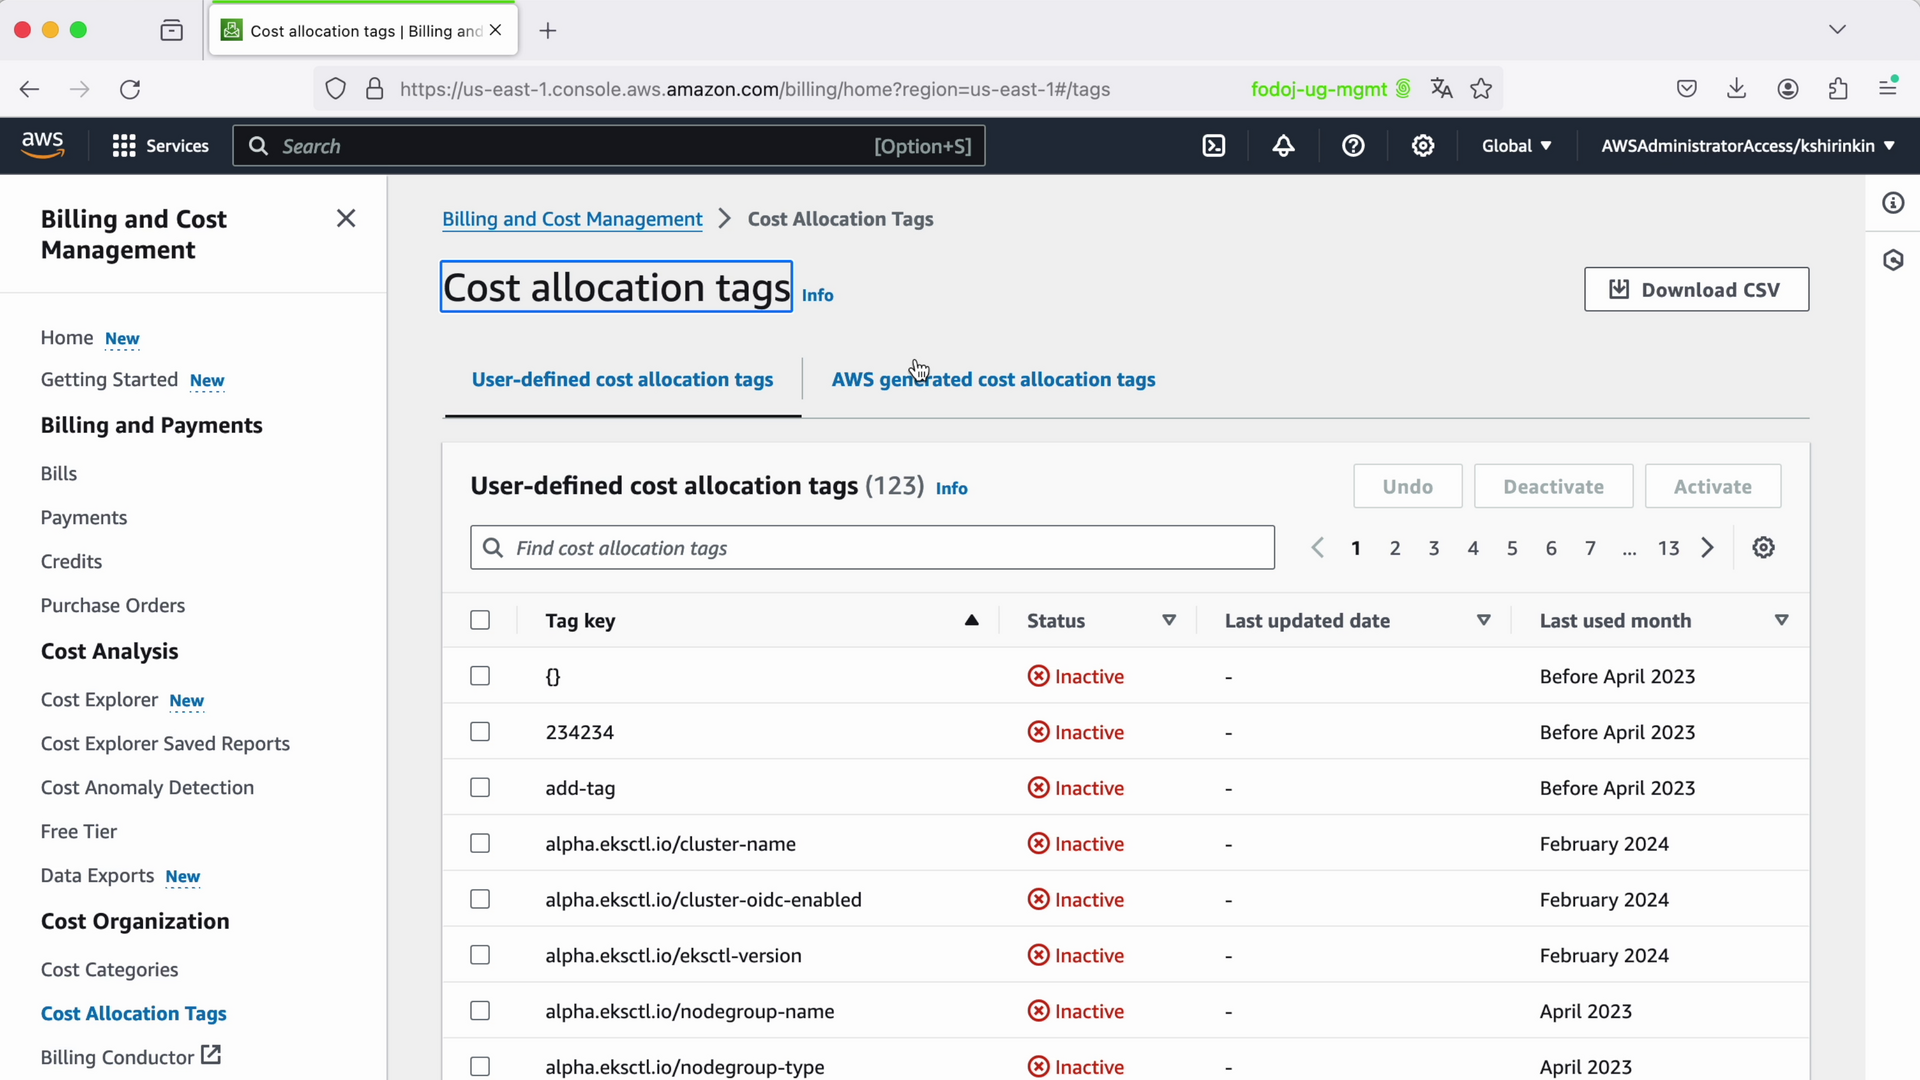
And that's the critical part because just having tags does not let you use this tag inside Cost Explorer. You actually need to go here to the console, find your user-defined cost allocation tags in the list, and activate them. For example, I have a tag 'environment', and I want to use the environment tag for my cost analysis:
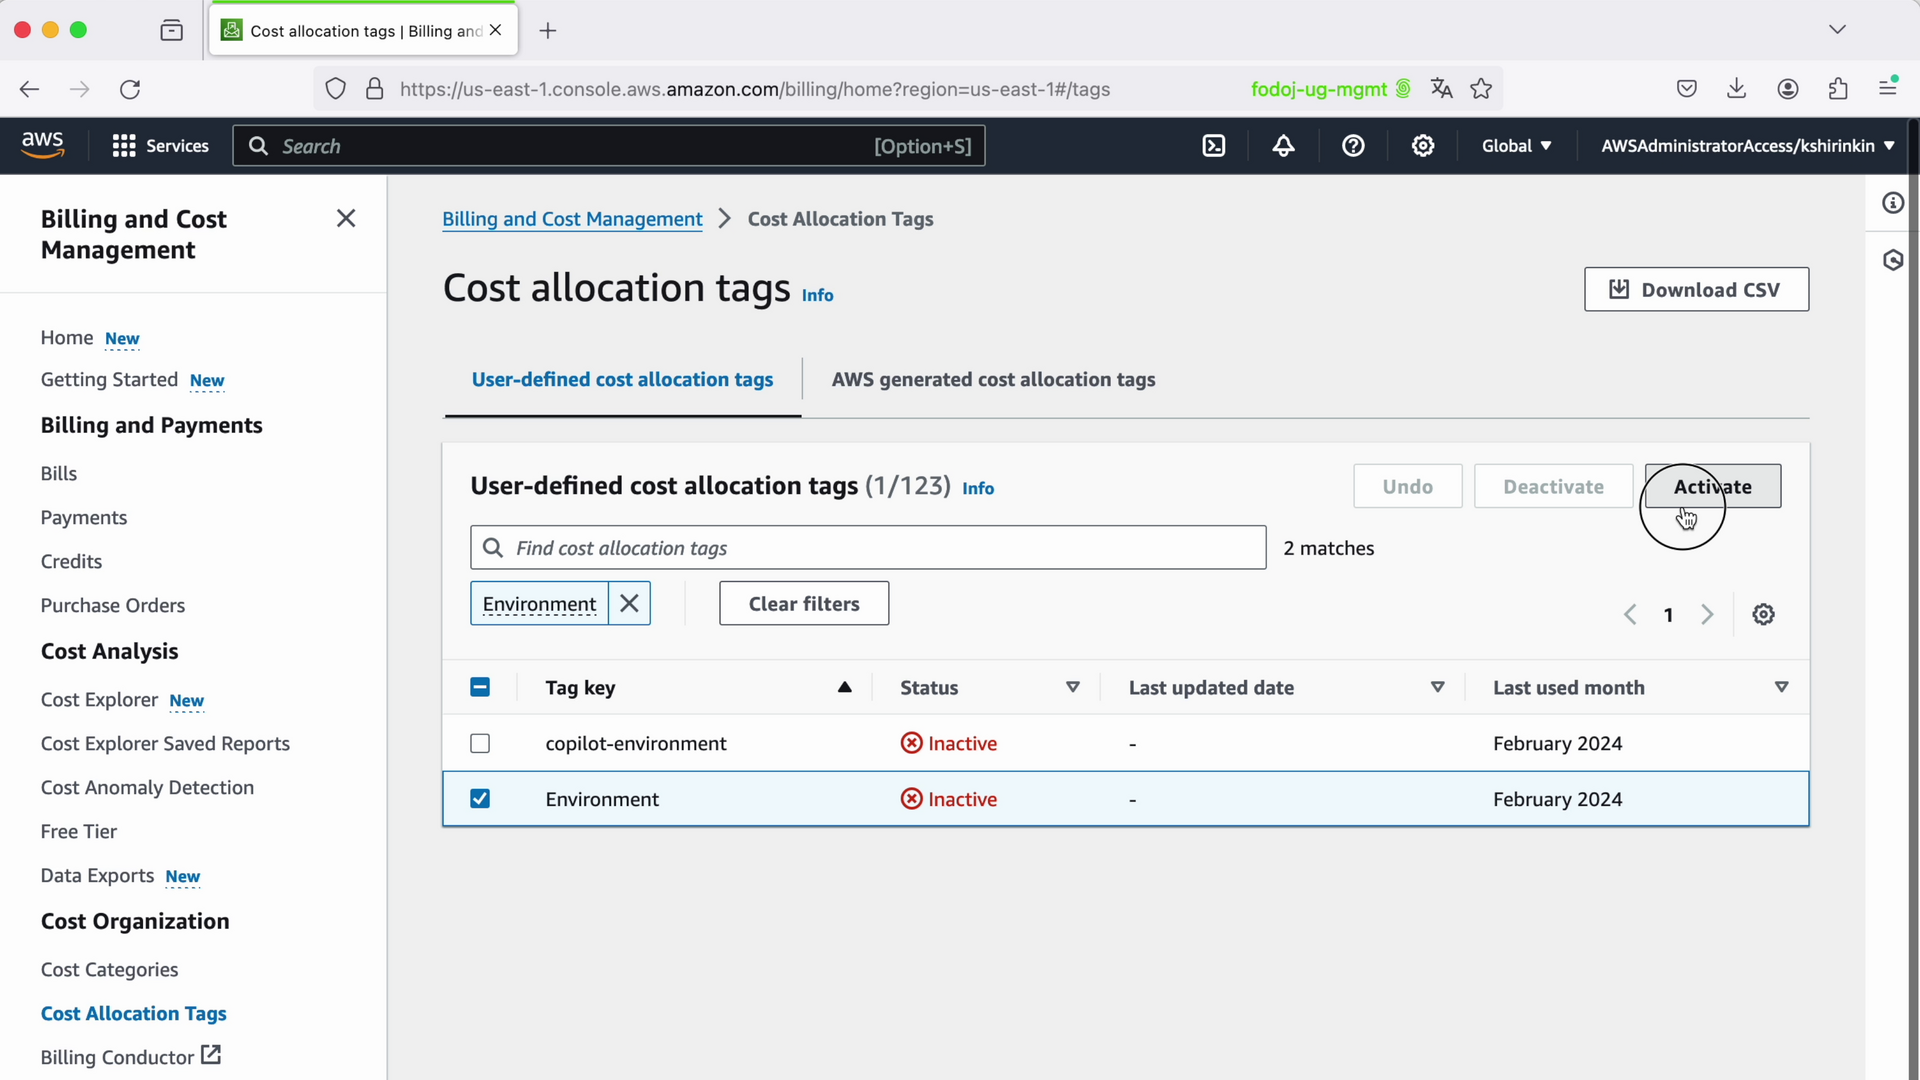
So, I just click the environment checkbox here, click activate, and confirm. Now, I am able to use this tag inside Cost Explorer.
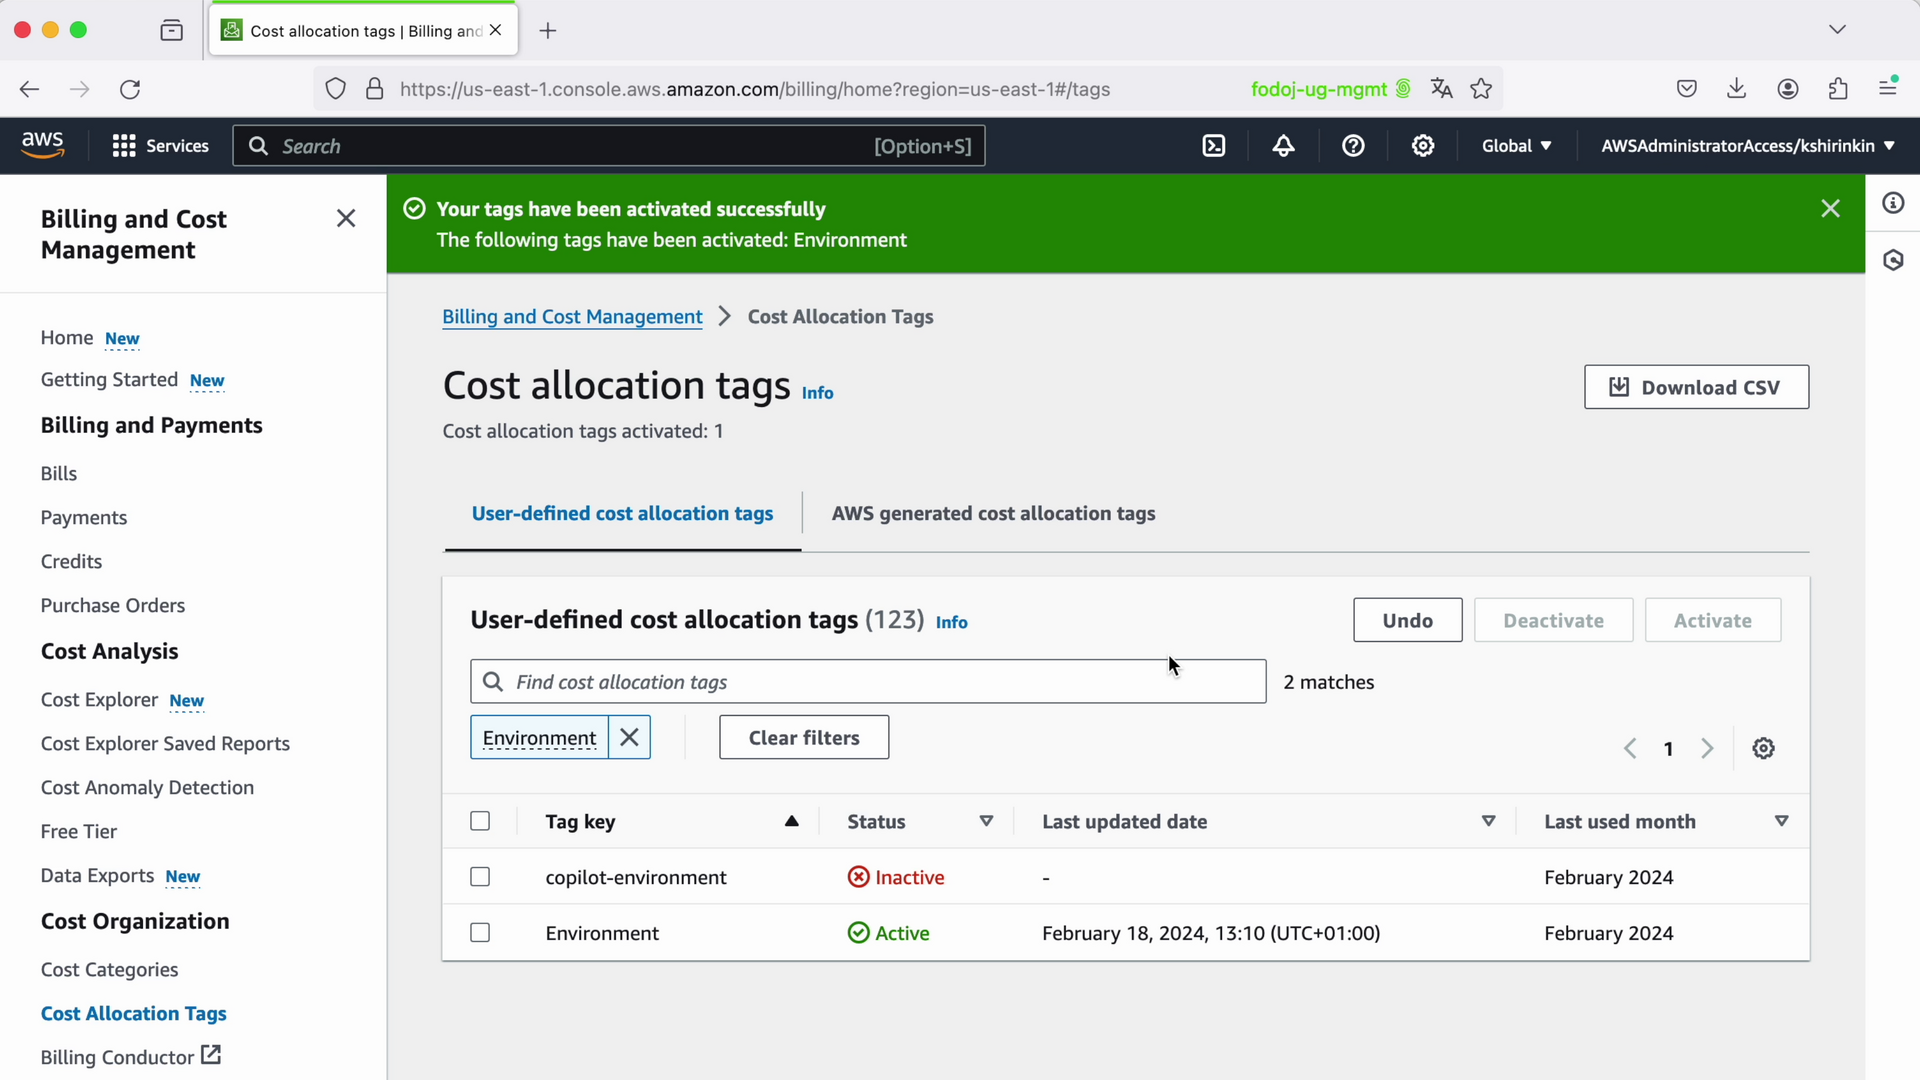
It’s important to note that I can only use these tags for costs incurred from this moment. So it does not apply to all the historical data. All the costs until today will not have this cost allocation tag available for filtering. That's why it's important from the very start to have a proper tagging convention for resources and also to activate the most important tags in cost allocation tags for analysis.
As I said, this is a very basic tagging system. It's only three tags: environment, workload, and name. If you have a couple of applications and maybe just 3-5 AWS accounts, one per environment, that’s probably enough for cost analysis. If you're a big enterprise, of course, things are way more complicated because you have different finance teams, security teams, lots of stakeholders, budgets, and in this situation, you need a much more sophisticated cost allocation strategy, which is hard to cover in a single article because it differs from organization to organization.
And if you are in the situation where you have lots of available accounts, teams, applications, stakeholders, finance processes, then a comprehensive cloud cost audit is required for which we are offering a Free Cloud Cost Audit to optimize your cloud spending, analyze the infrastructure, and also define a proper tagging concept and pick the right tags for your cost analysis and cost reports. Learn more about the audit and how we can help here, or fill in the application for right away:
Here's the same article in video form for your convenience: