Deploying GKE Clusters with Terraform

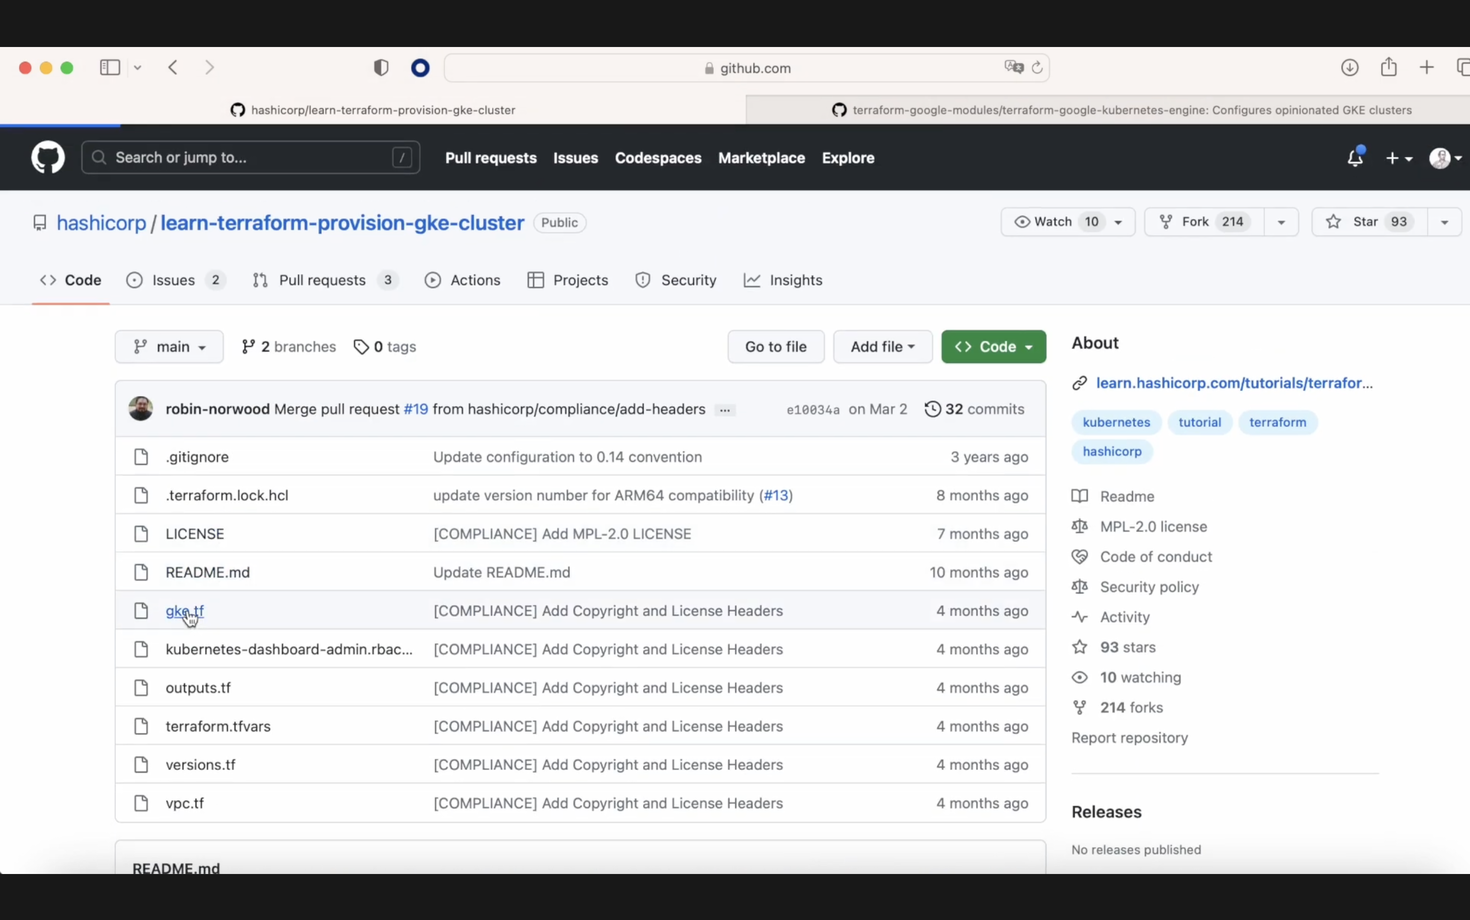
Today, we are going to see how to install a GKE cluster, a Google Kubernetes cluster, with Terraform, and we are going to use two repositories.
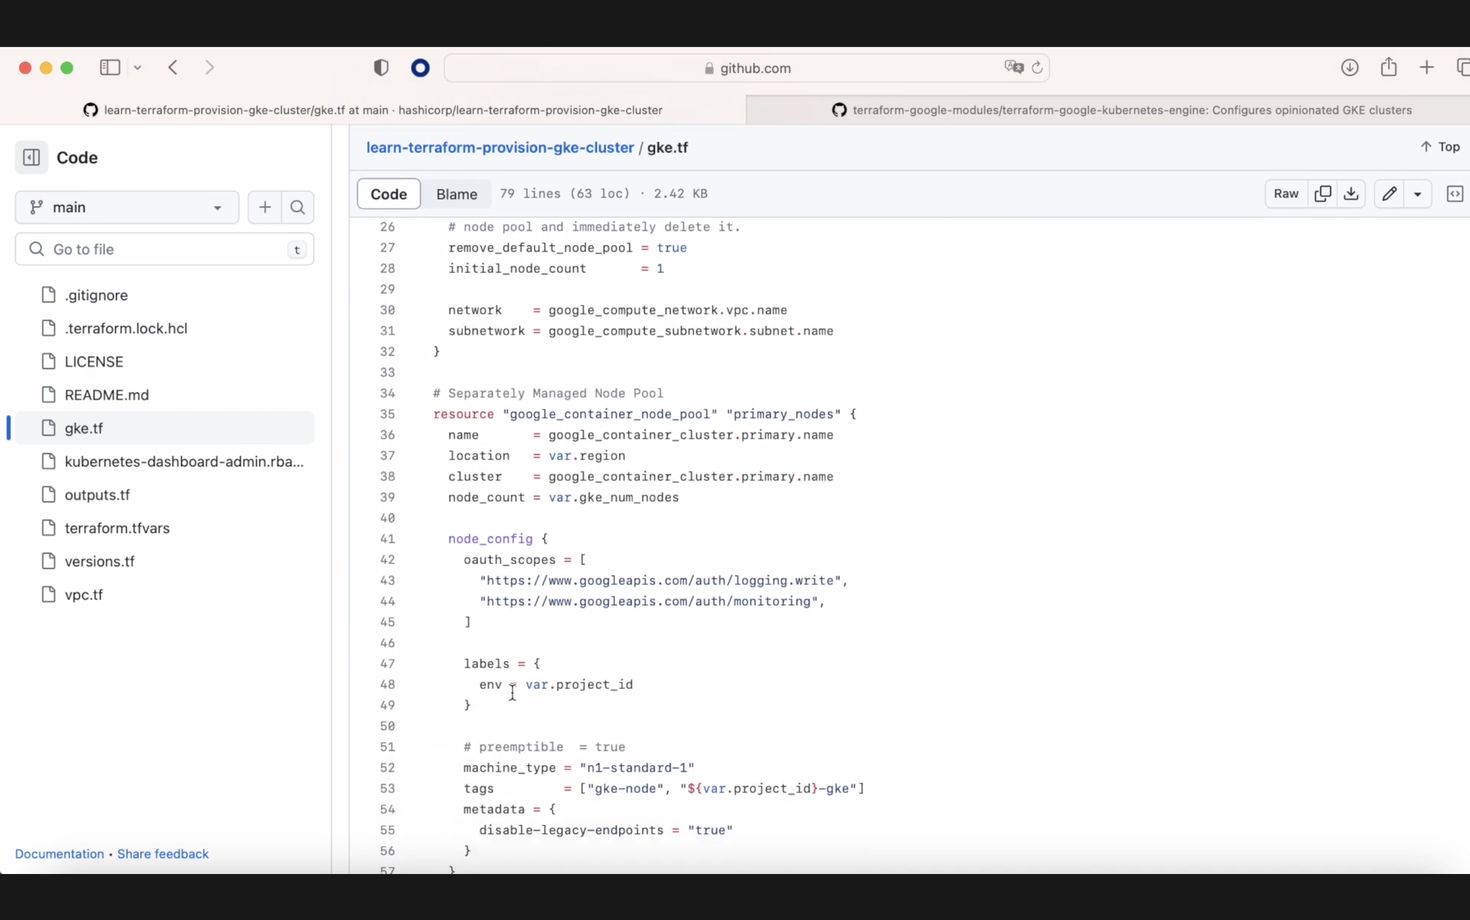
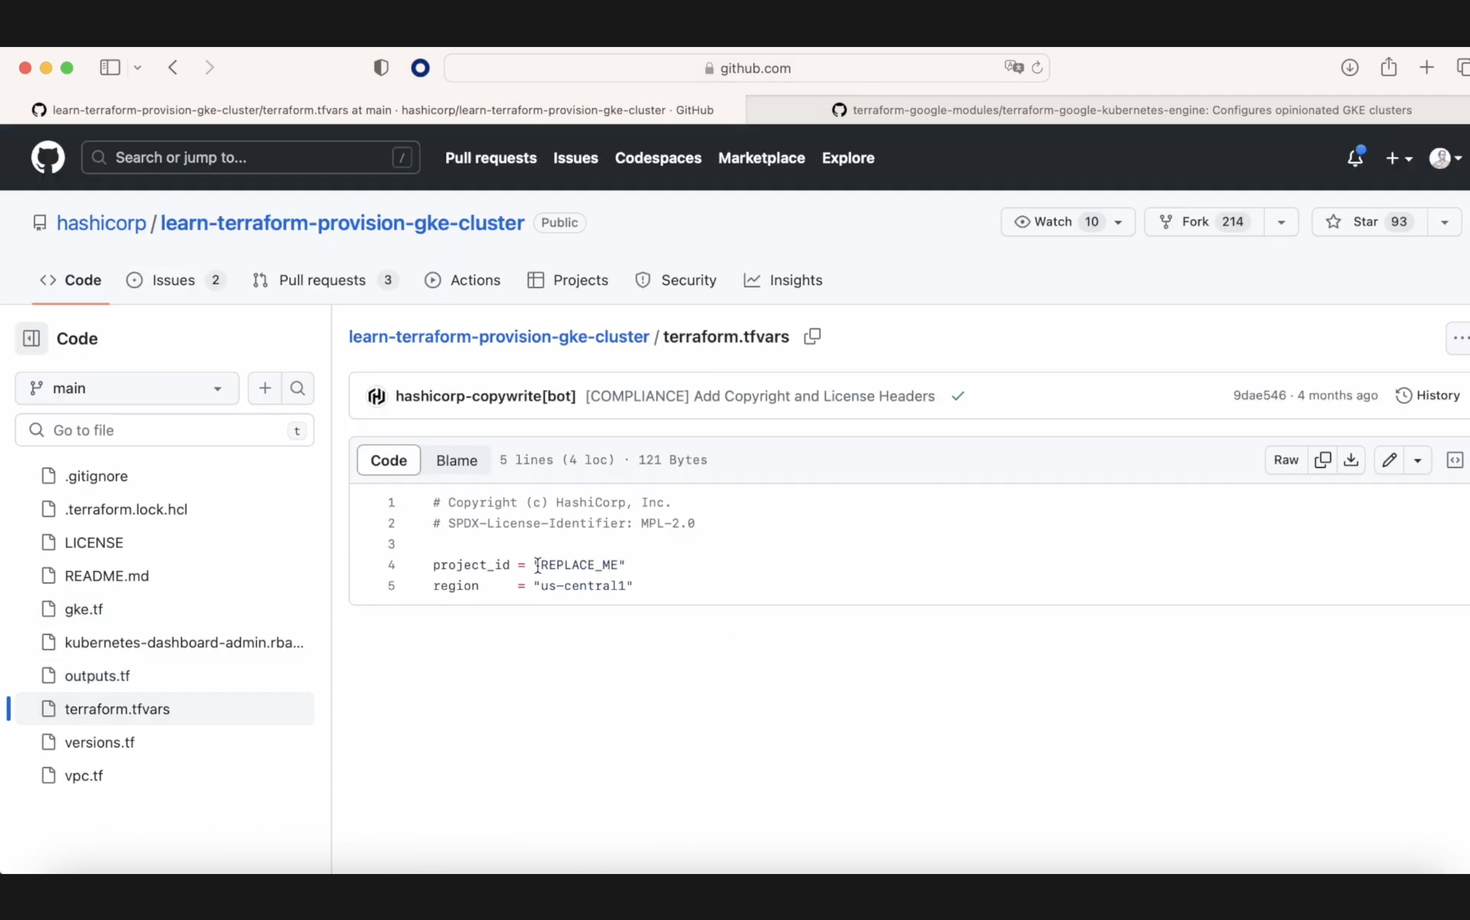
The first one is this HashiCorp Terraform repo that we can see on the screen, which is based essentially on three files. We have this GKE file, the one that you see on the screen. We also have another file called terraform.tfvars, where we only have a placeholder to replace our project.
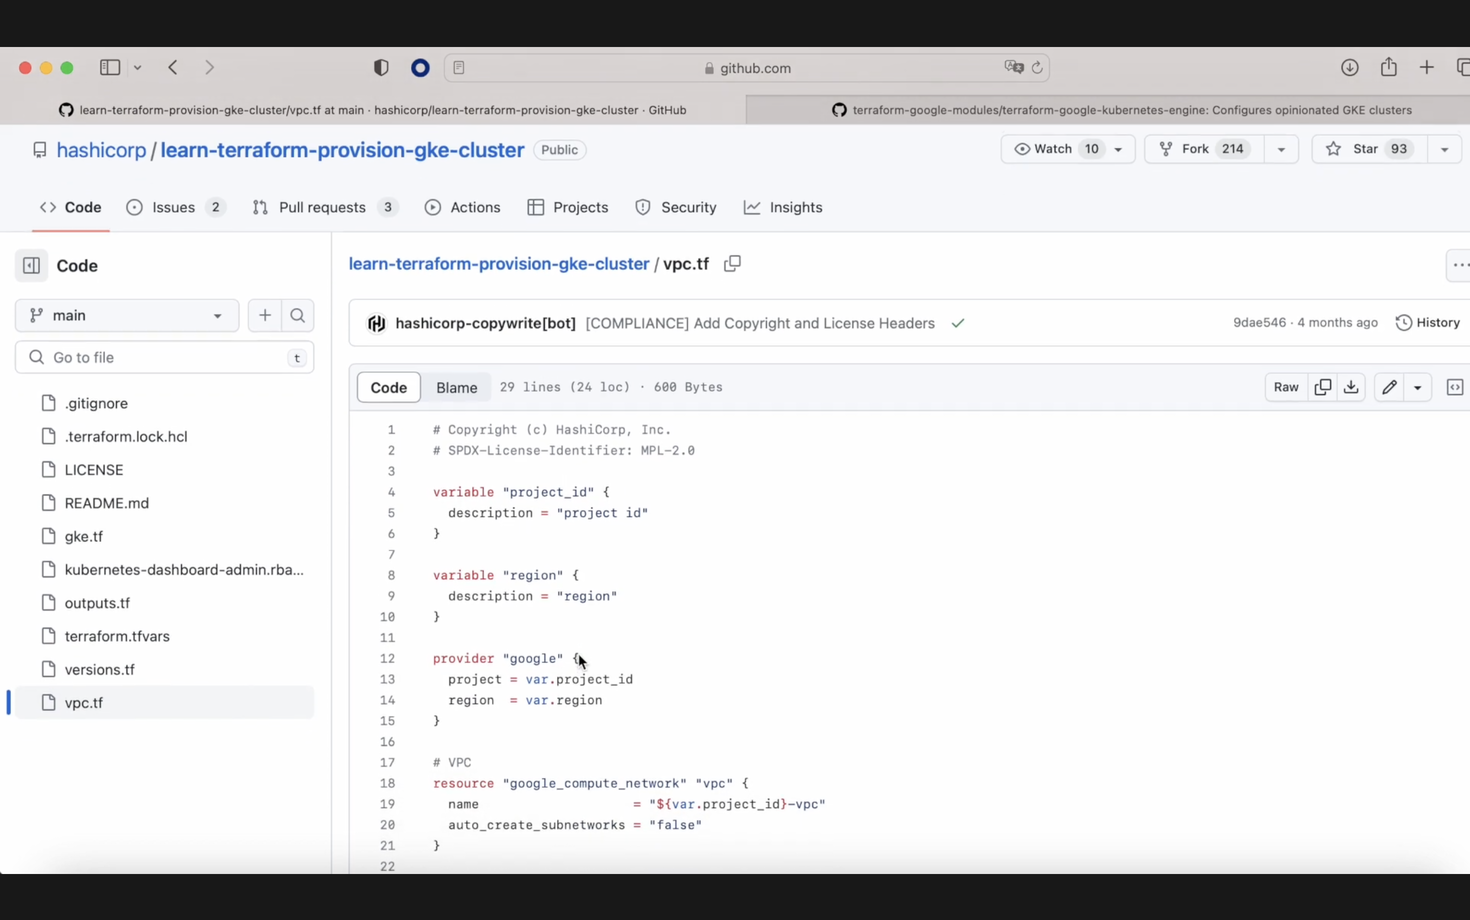
After that, we have the third file called vpc.tf, where we are going to create a VPC and a subnetwork.
This cluster is going to be different from the next one because in the next cluster, we are going to have our subnetwork for pods and our subnetwork for services. You can see our file, our GKE file. The difference here is that we are going to change the machine type because we don't want a large number of machines, and here, in this Terraform state file, is our project name.
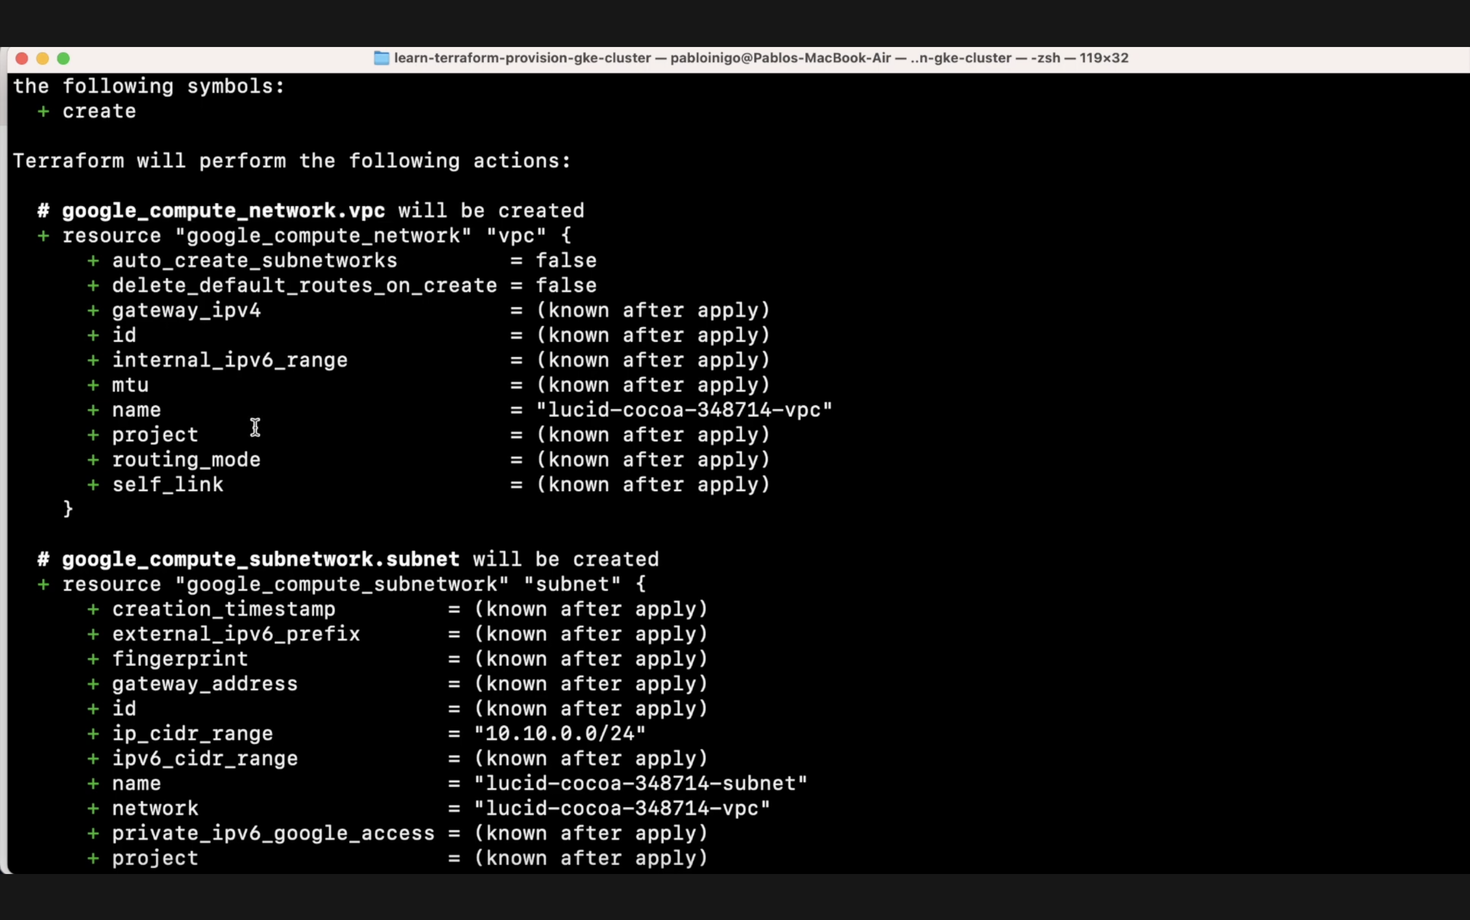
When we remove the Terraform file, we execute, as always, terraform init; after that, terraform plan, and we are going to see what is going to happen with our Terraform plan. We have, as mentioned before, a new VPC that is called the name of the project appended with '-vpc'. We have a new subnetwork that is the name of the project appended with '-subnet', which belongs to this VPC that we had before, and we have our container cluster.
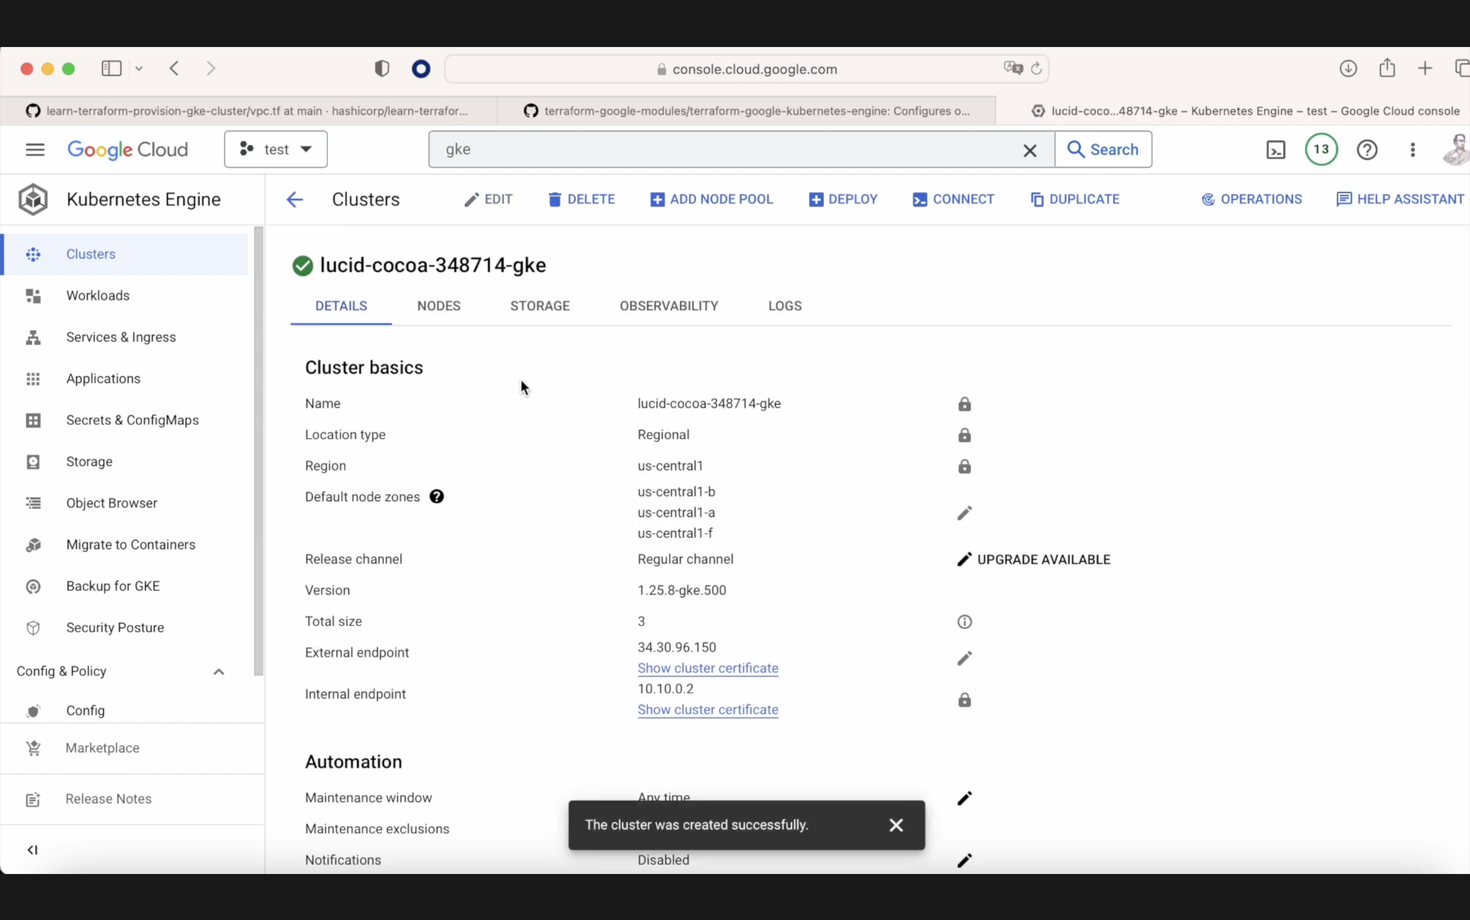
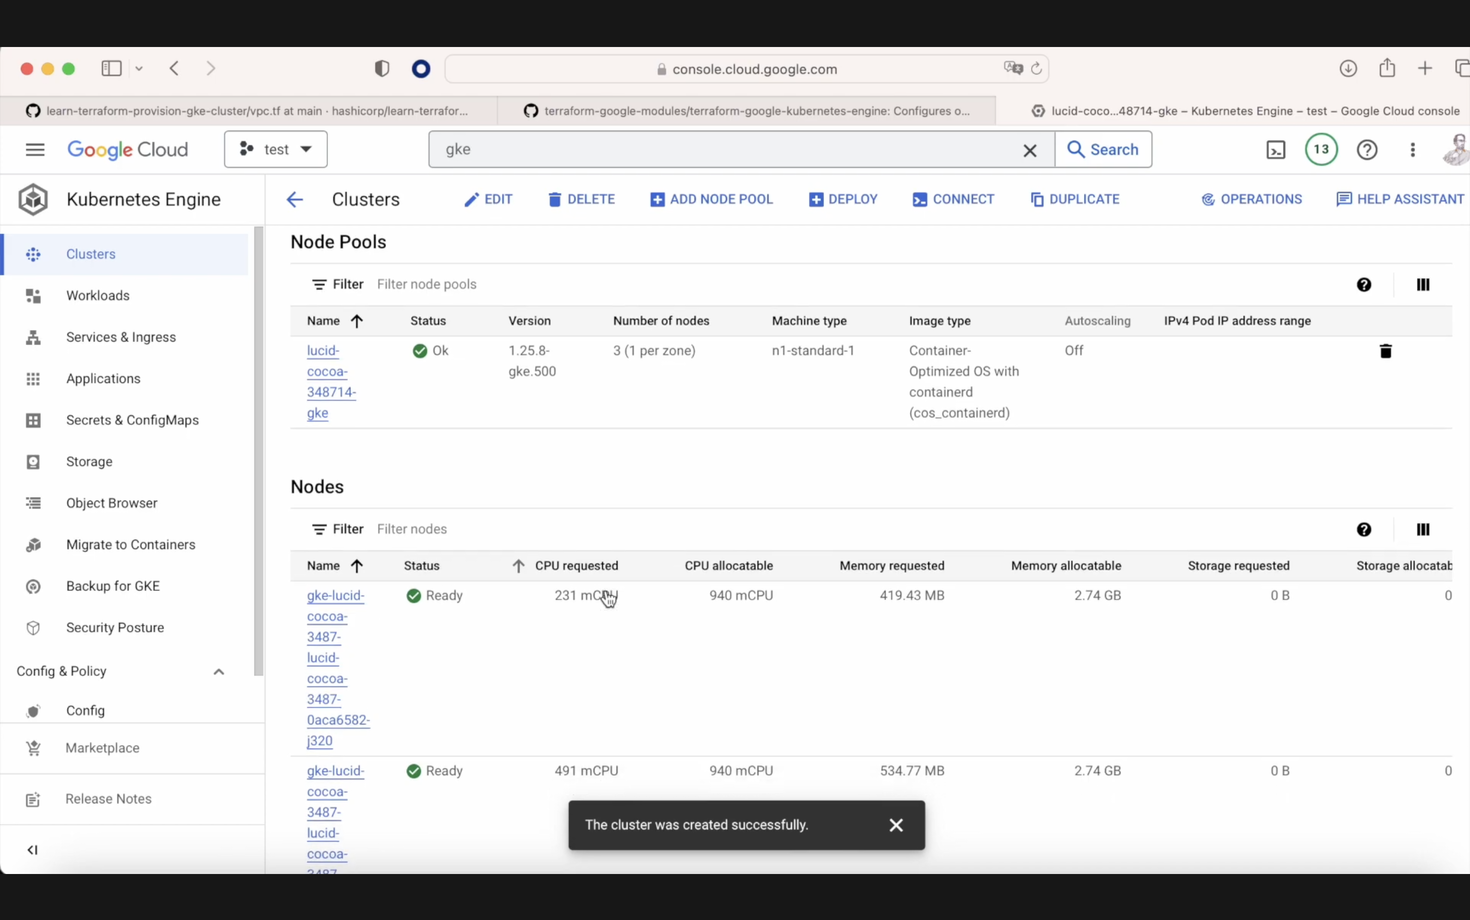
Our cluster with the information that we provided in our Terraform is a basic cluster. In this case, we are not considering anything else. Then we have a basic node pool that is going to be connected to our cluster. We execute terraform apply, and after a while, because this takes approximately 10-15 minutes, when this is done, if we go to our GKE console in the Google Cloud console, we can see that the GKE cluster is there. If we click on the cluster, we can see the setup that we chose before. It's a basic setup. And here, in the nodes, we can see that we have this node pool plus, in our case, three nodes. So, it's a cluster with three workers.
Okay, we saw that this is simple. Let's destroy this cluster with terraform destroy. And now, we are going to see a different repo. This one is coming from Google, and Google is giving this repo from Terraform with many, many samples, which is highly recommended.
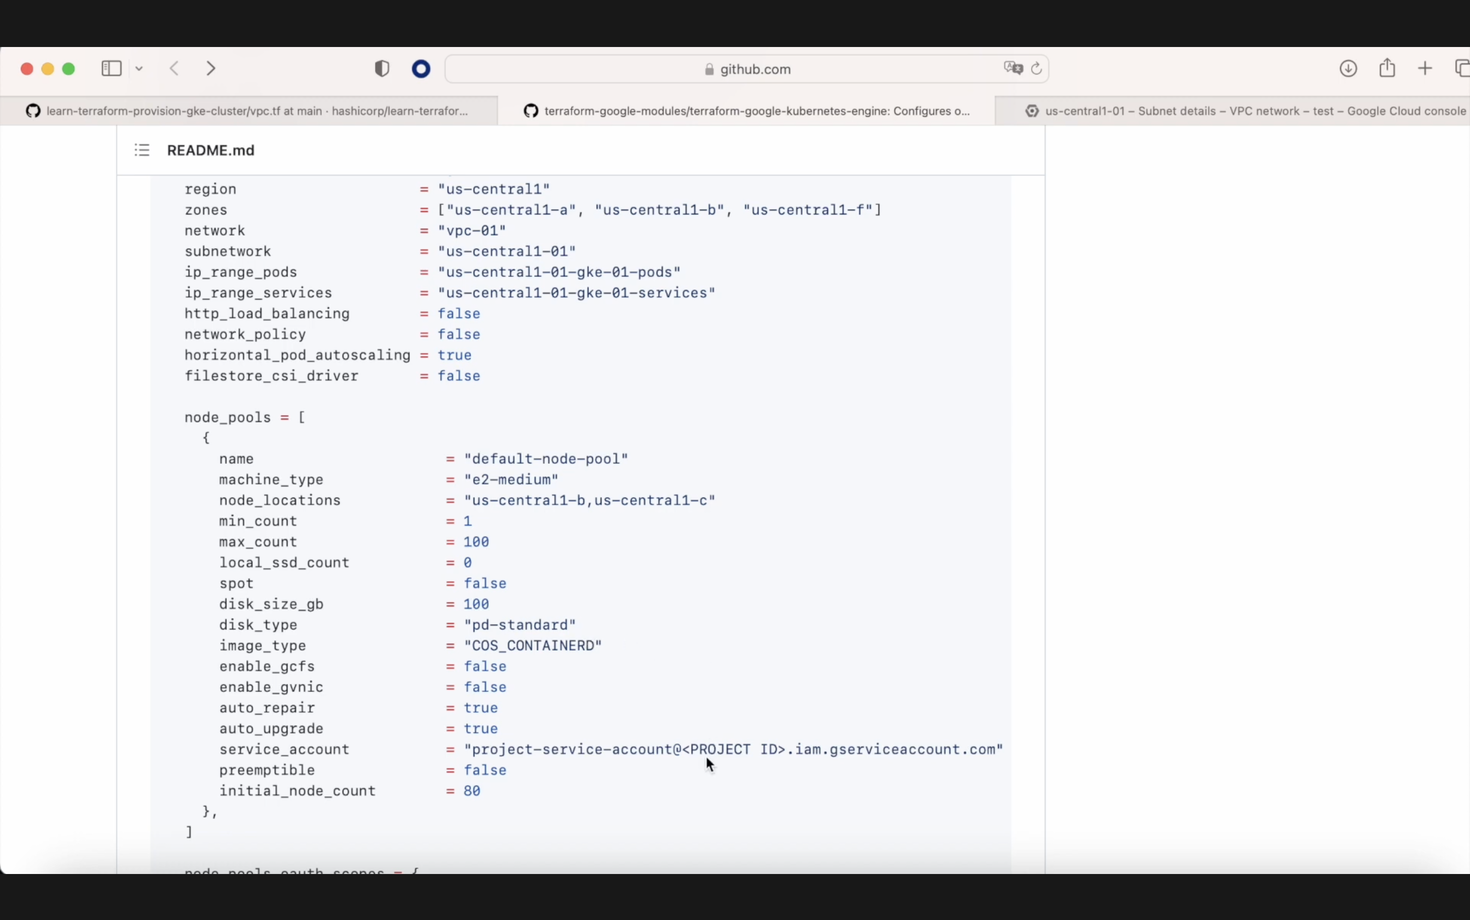
Here, you are going to see how to do every kind of cluster that you want to have in GKE—simple region, multi-region, simple zonal, a very large number of clusters. But what we are going to do today is we're going to use the simple and basic example that we have in the Terraform readme. It's only to show that here we are going to make a call to a module called GKE, and I want you to see how it starts working. There is a little consideration: we need to create first a subnetwork called us-central-01 in this case, and then two subranges. Then, if we go to our VPC, in this case, default, and we search for this us-central-01 subnetwork, we'll see that it's there, and we see that there are two secondary IP ranges, one that is for the nodes and the other one for the services. So after we create our GKE cluster, our nodes will use this one. In the node pool, we can see that we have a type E2 medium that we'll change later and two places where we need to change our project ID. If we go to the main, we can see how now we have this Lucid Cocoa project that we currently have. We have the regions, the Lucid Cocoa there, and in the node pools, we have N1, standard one. And in the service account, I created a service account called Terraform where I put all the permissions of that one. And super important because they want to create 100 workers, I changed it to one because I don't want to spend millions to make this video. We remove .terraform as before, we execute terraform init as always when we want to work with Terraform, and the next step is terraform plan. When we have our Terraform plan, we have nine resources. It's going to be as before, the container clusters. We're going to have the three IAM permissions that we need, a service account that is going to be created, a random element, and then we have our service account connected to the cluster.
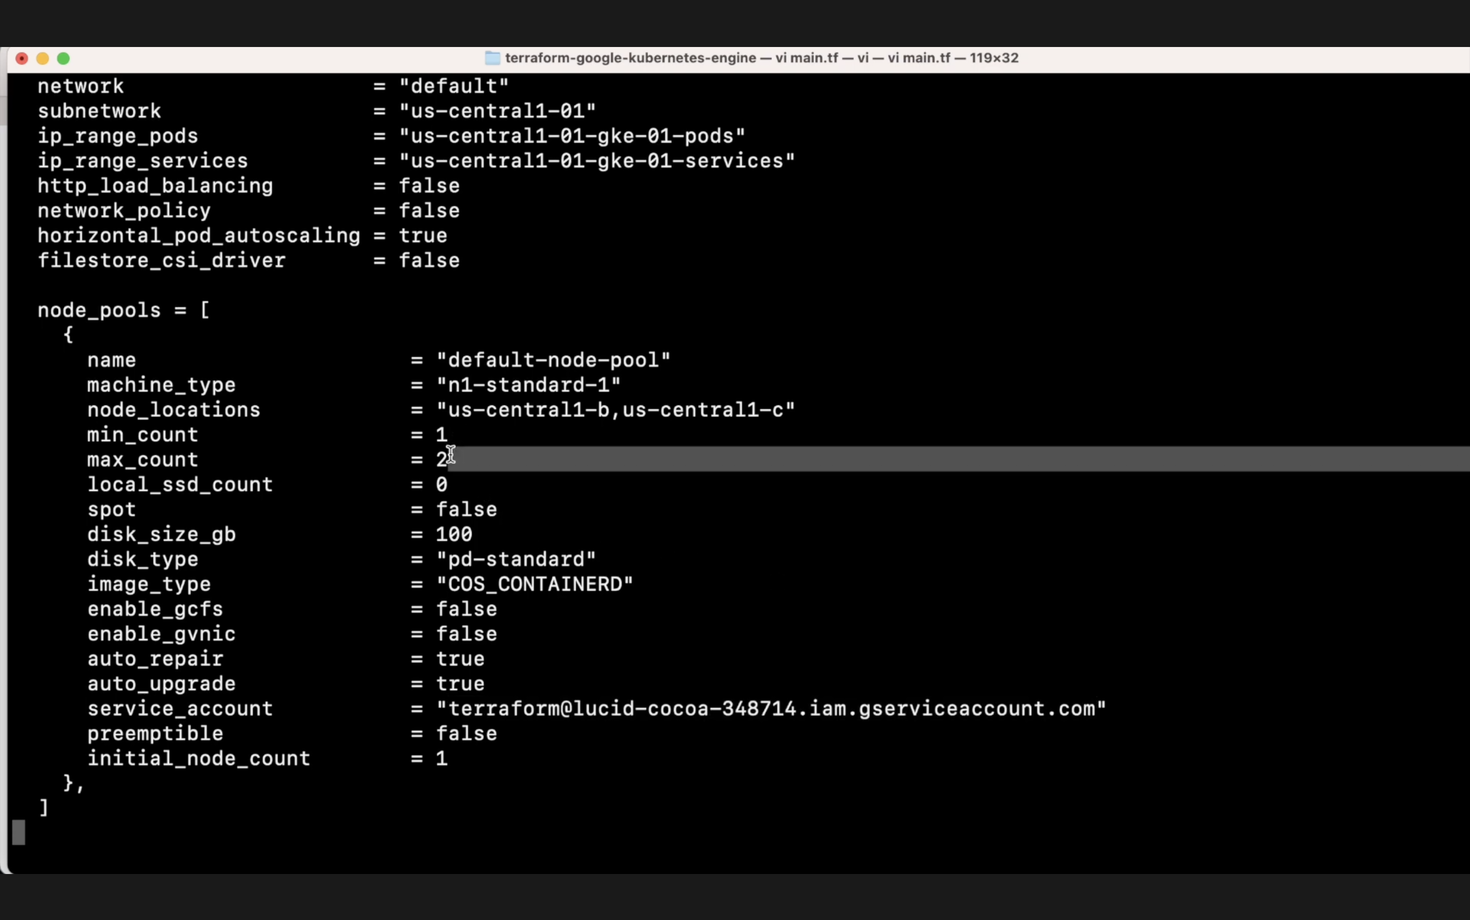
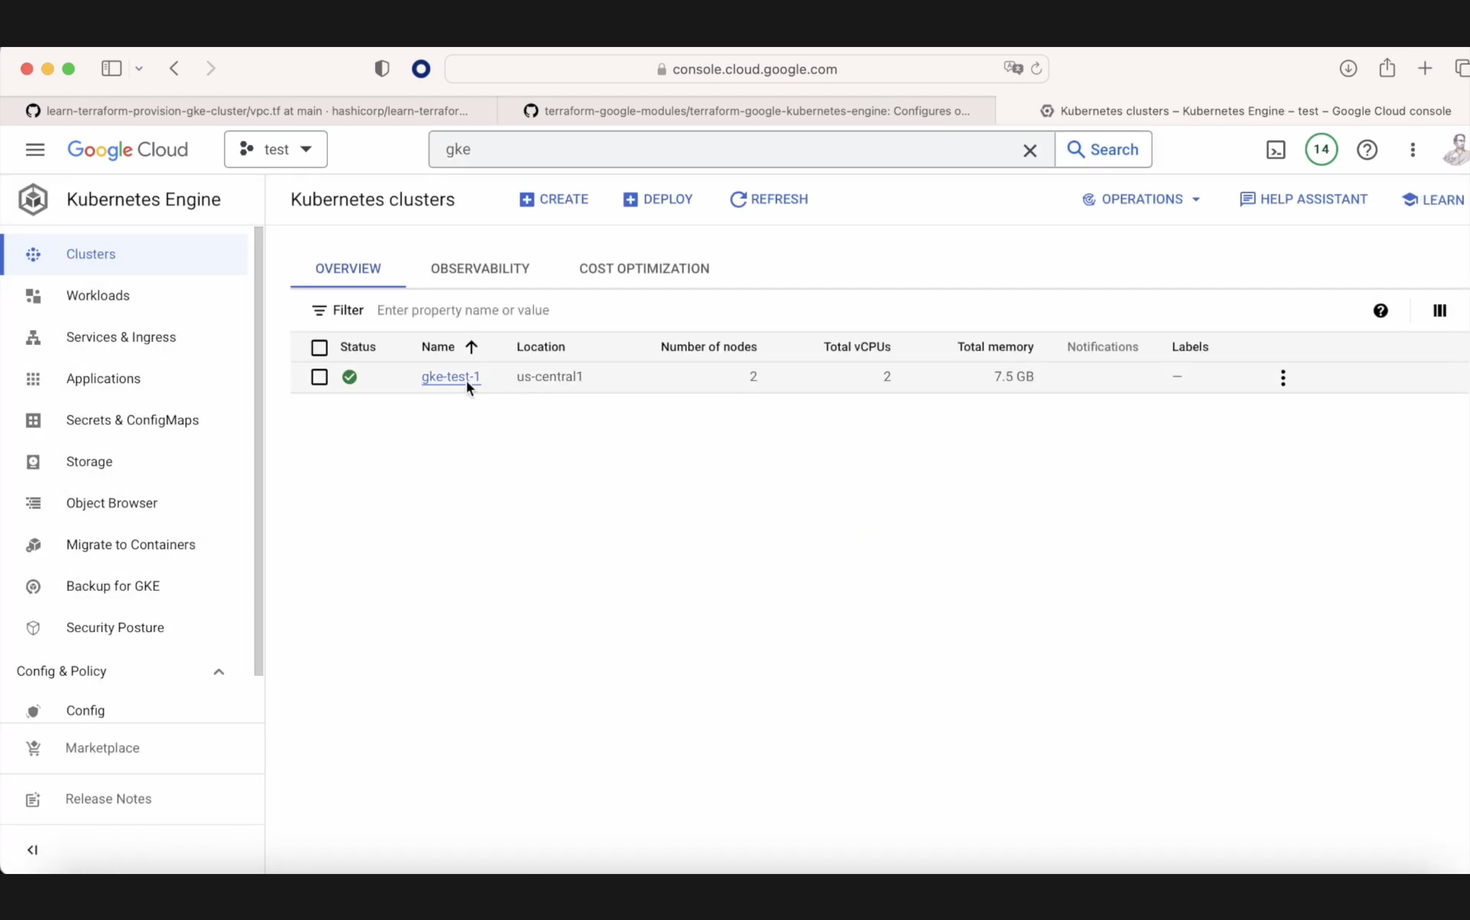
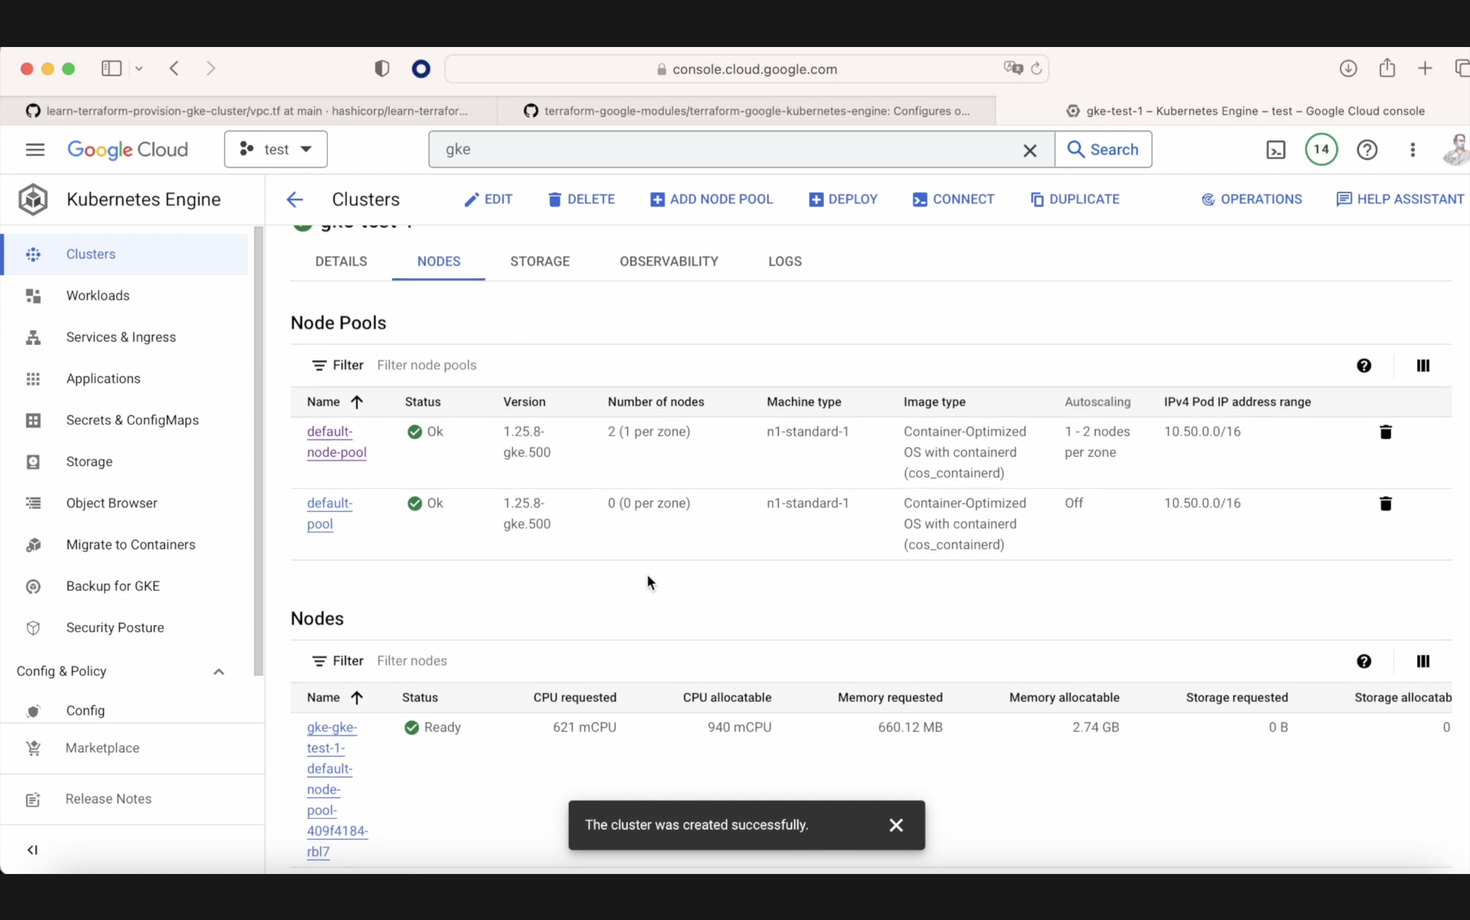
Now, we execute terraform apply, and when this Terraform apply is executed, if we go to our GKE console, what we're going to see is that now we have a cluster called GKE test one, in this case, with two workers and all the information that we provided before. So the network, the subnetwork, the location we're going to put our bot, our services, and here, in the node, we have our node pools and we have the workers that we have up and running. I hope that you enjoy.
Here's the same article in video form for your convenience:
