Kubernetes Secrets with GitOps and Sealed Secrets Controller

AUTOMATION DISCLAIMER
Don't do ClickOps.
For production setup, automate everything with tools like CloudFormation, Terraform, Ansible and alike.
There are different ways to create Kubernetes Secrets. The most straightforward one is to do it manually, but this, of course, is a crime in the DevOps world. Another solutions are:
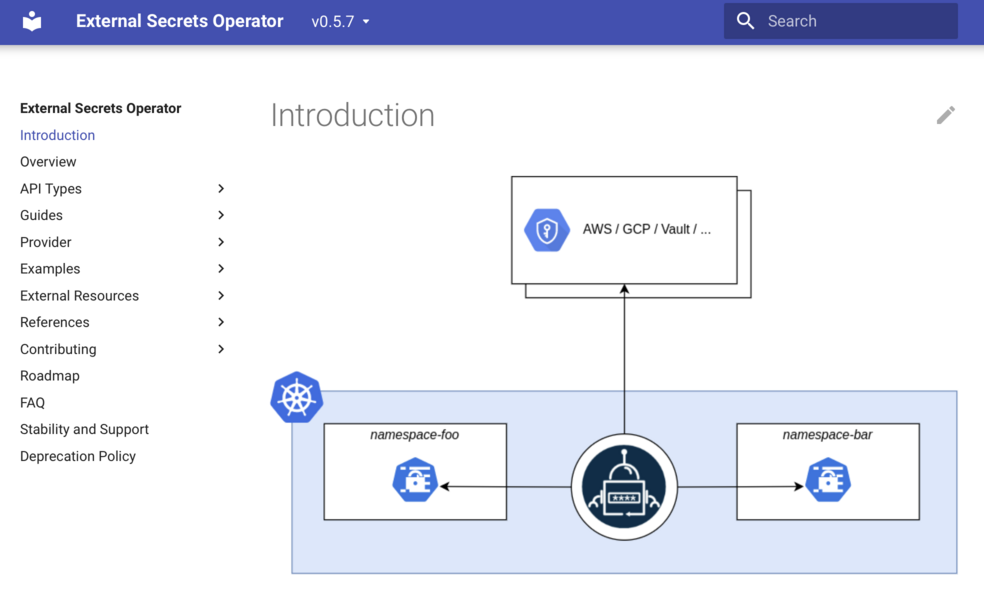
- Integrate some external system, like AWS Secrets Manager or Hashicorp Vault. You could do it with your own automation, or by using a tool like External Secrets Controller;

- Use GitOps approach, where you stored encrypted version of your secrets in the git repository, and deploy them somehow with a CI/CD tool;
In the GitOps case, you need to have a tool that encrypts and decrypts your secrets.
One such tool is a Helm Secrets plugin - check out our video about our favourite Helm plugins.
The challenge with Helm Secrets is how to distribute or give access to the keys used to encrypt the secret.
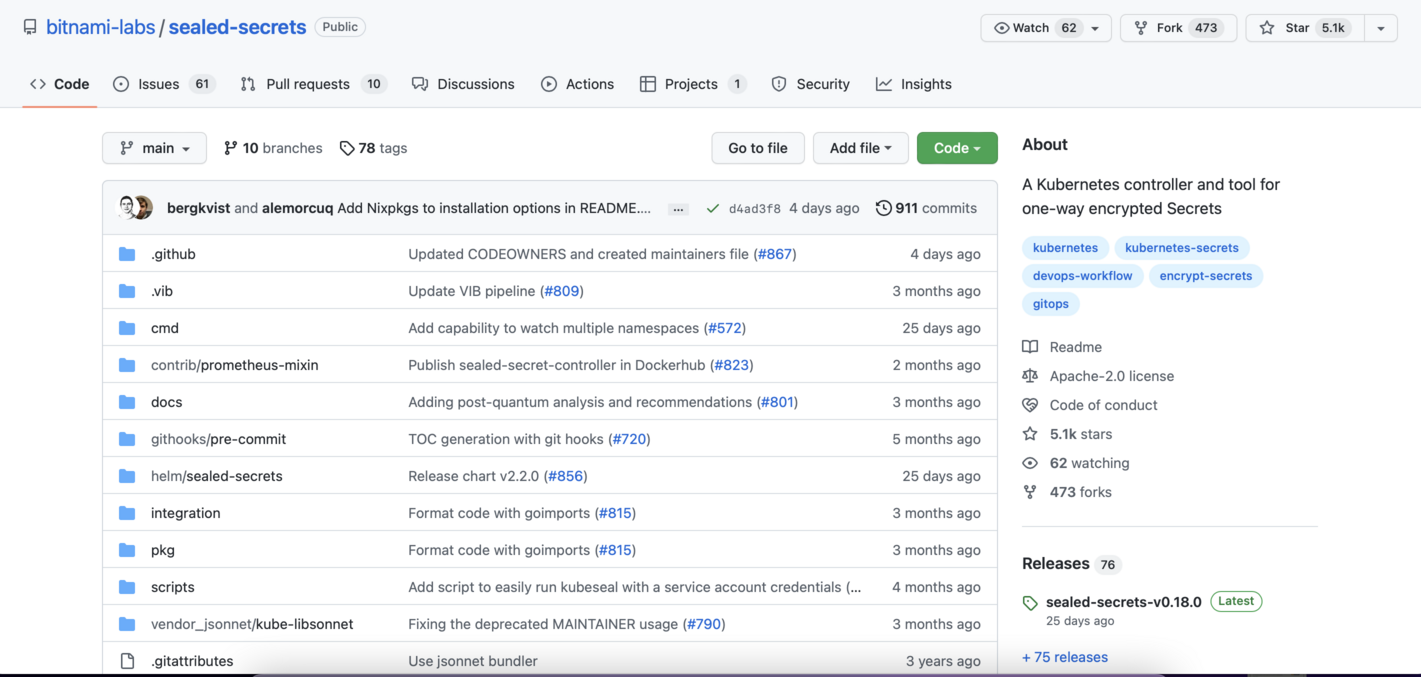
One really great solution to this issue is called SealedSecrets controller, which we will look at in this article.
Kubernetes audit: it's a complex framework, and it's tricky to get it right. We are here to help you with that. About Kubernetes audits

SealedSecrets controller is a cluster-global component that you can install with the Helm Chart. Let’s add the repository first with helm repo add command. And now install the controller with default configuration inside the kibe-system namespace, with helm install sealed-secrets-controller bitnami/sealed-secrets.
In addition to the controller, we need to install a CLI tool called kubeseal. I will use homebrew to install it on my laptop: brew install kubeseal
Next step is to create a file with a regular Kubernetes Secret, inside the mkdev namespace.
I can not commit this secret to the git repository, because everyone with access to the repository will get access to the secret.
What I will do instead is encrypt this secret with kubeseal, by passing the original secret file and specifying the YAML output: kubeseal -f secret.yaml -o yaml
Kubeseal will return a SealedSecret object definition. The contents of this SealedSecret are encrypted with the public key, that is served by the Sealed Secrets Controller, the one that we installed with Helm.
It is safe to commit this SealedSecret to a git repository, because only SealedSecrets Controller is able to decrypt it. What’s also important, is that kubeseal is using the Secret’s namespace in the encryption process, meaning that if you create this SealedSecret in another namespace, it won’t be decrypted.
Now let’s try to create this SealedSecret by piping it to the kubectl: kubeseal -f secret.yaml -o yaml | kubectl create -f -
We see a new sealed secrets object. Now let’s check regular secrets: kubectl get secrets
There is a secret with the same name as a sealedsecret object. If we compare it with our local secret.yaml, we will notice that it has the same contents.
Now let’s look at the logs of the sealed secrets controller.

We see some events here. What happens is that Sealed Secrets Controller detects new or updated SealedSecrets objects and creates or updates regular Kubernetes Secrets accordingly.
SealedSecrets are safe to commit to the repository, and only Sealed Secrets Controller is able to decrypt it. Your cluster users only need the public key of the controller for encryption, and this key is safe to share - and it’s also easy to access directly with kubeseal, as we just saw.
Naturally, you need to be careful with Sealed Secrets Controller and, as a cluster administrator, backup it’s private keys regularly - so that you can unseal the sealed secrets.
There are couple of extra nice features in this tool, like automatic rotation of the keys, different secret scope and some more.
Sealed Secrets simplify Kubernetes Secrets management quite a lot, in case you fancy GitOps approach to deploying applications. It is easy to maintain, and it gives your cluster users a simple and secure way to provide secrets to their applications.
Here's the same article in video form for your convenience:
