OhMyZsh and Janus: Set Up Productive Work Environment in 10 Minutes or Less

In this article I want to show you the toolset that I install on every new workstation.
This is going to be a very subjective recommendation. I just felt I should share the exact steps that I do to get productive in the shortest time possible. I actually don't have any kind of complex setup. I like to keep things as simple as possible.
The configuration I will show you will work on any MacOS, Linux or even Windows WSL systems.
It's really portable and thats another reason I really like this setup.
Zsh Demo
First of all, I have to install couple of packages.
yum install zsh git ruby rubygems-rake vim -y
The tools I am going to show you have just a few dependencies - without them, the installation will fail.
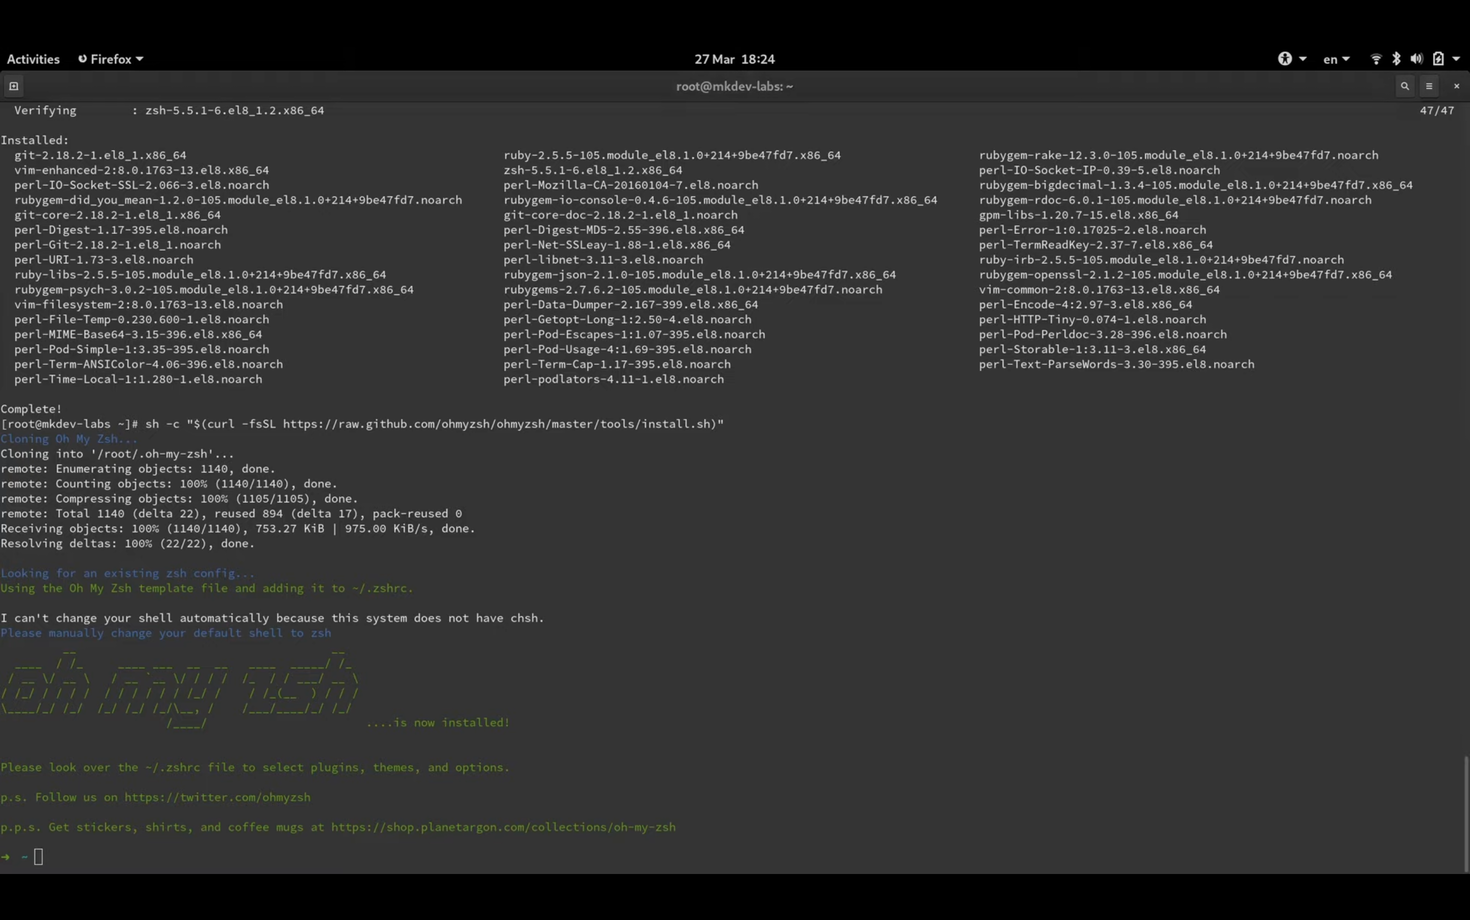
The first tool I always install is OhMyZsh.
OhMyZsh is basically a Zsh bundled with lots of useful plugins and nice color themes.
If you read my other articles, you could see that my terminal always has pretty colors - this is thanks to Zsh.
Installing it is quite easy - you just need run the single command:
> sh -c "$(curl -fsSL https://raw.github.com/ohmyzsh/ohmyzsh/master/tools/install.sh)"
Keep in mind, that installing something by blindly downloading a shell script is dangerous.
You have to really trust the source of the script like I do in the case of OhMyZsh.
As you can see, now my terminal looks much nicer.
I really appreciate all these colors, because I stare at the terminal for a big part of my workday.
Color themes, of course, are just a small part of this bundle.
The really nice part is that it has many different plugins already pre-installed and it's fairly easy to add your own plugins.
Just look at the list of all the plugins included out of the box.
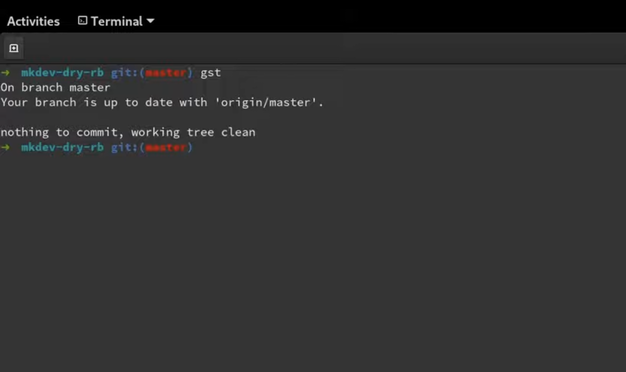
By default only git plugin is enabled, which gives you lots of aliases for different git commands:
Let me clone one of the study projects for mkdev students by using gcl alias.

Notice that I can see the current branch right here in the terminal.
With this git plugin, I can see the git status by just running gst
or I can see a pretty git log by running glol command.
And I can also use auto-completion to quickly find all the other git commands.
You can quickly add more plugins just by changing your zshrc.
vi ~/.zshrc
Most of the plugins are already installed, we simply need to enable them by updating zshrc file.
You might also have to remove some internal zump files to make completions work.
This is something I encountered with my installation.
jsontools
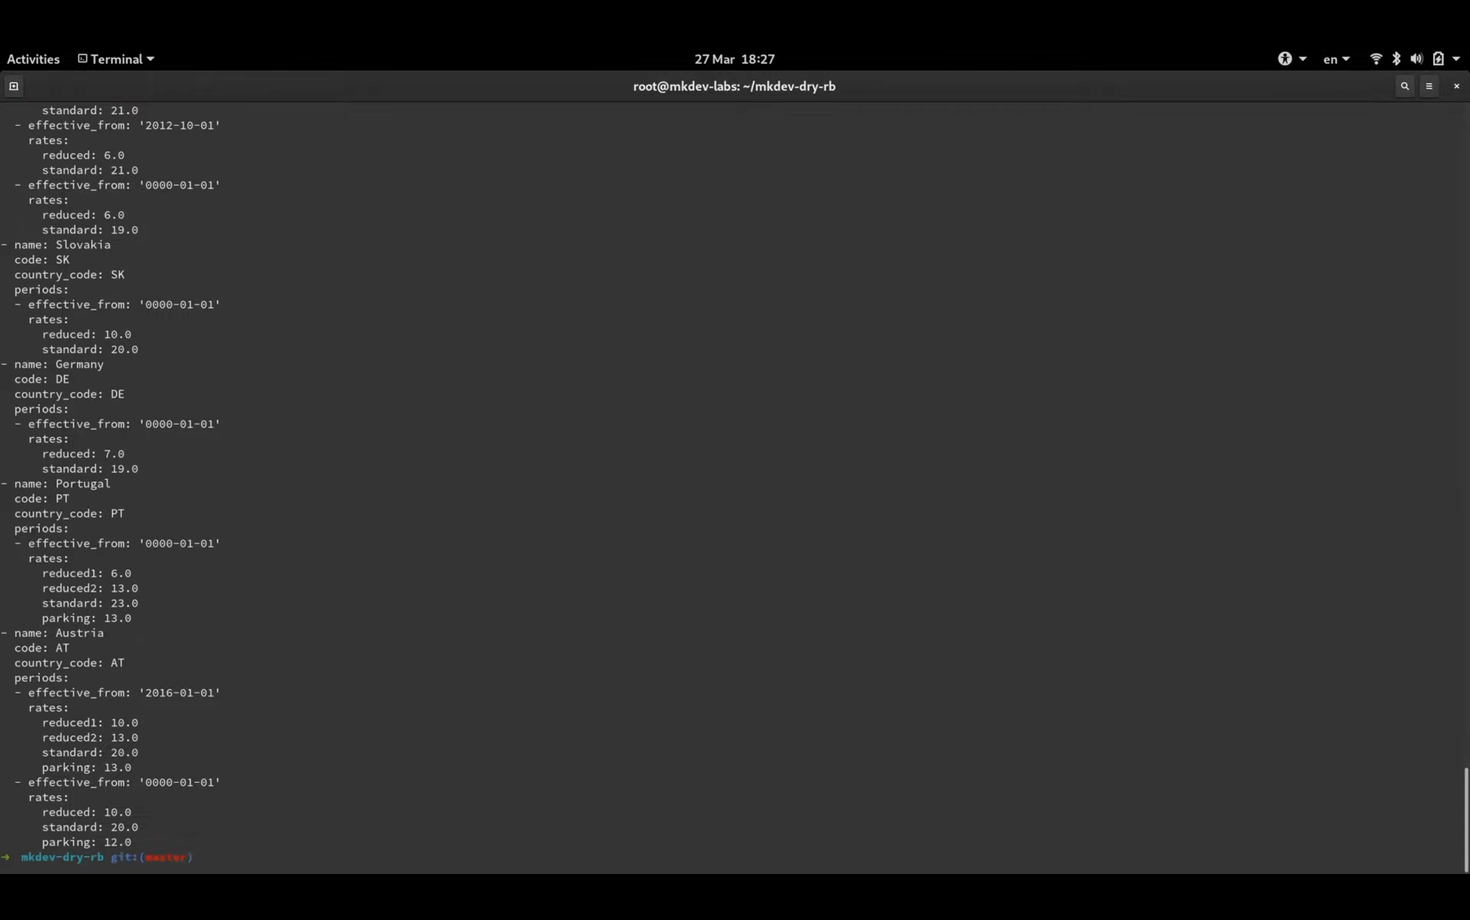
jsontool plugin allows you to validate json contents and to print them in a human readable form.
For example, here I have a file with european VAT rates which is badly formatted:
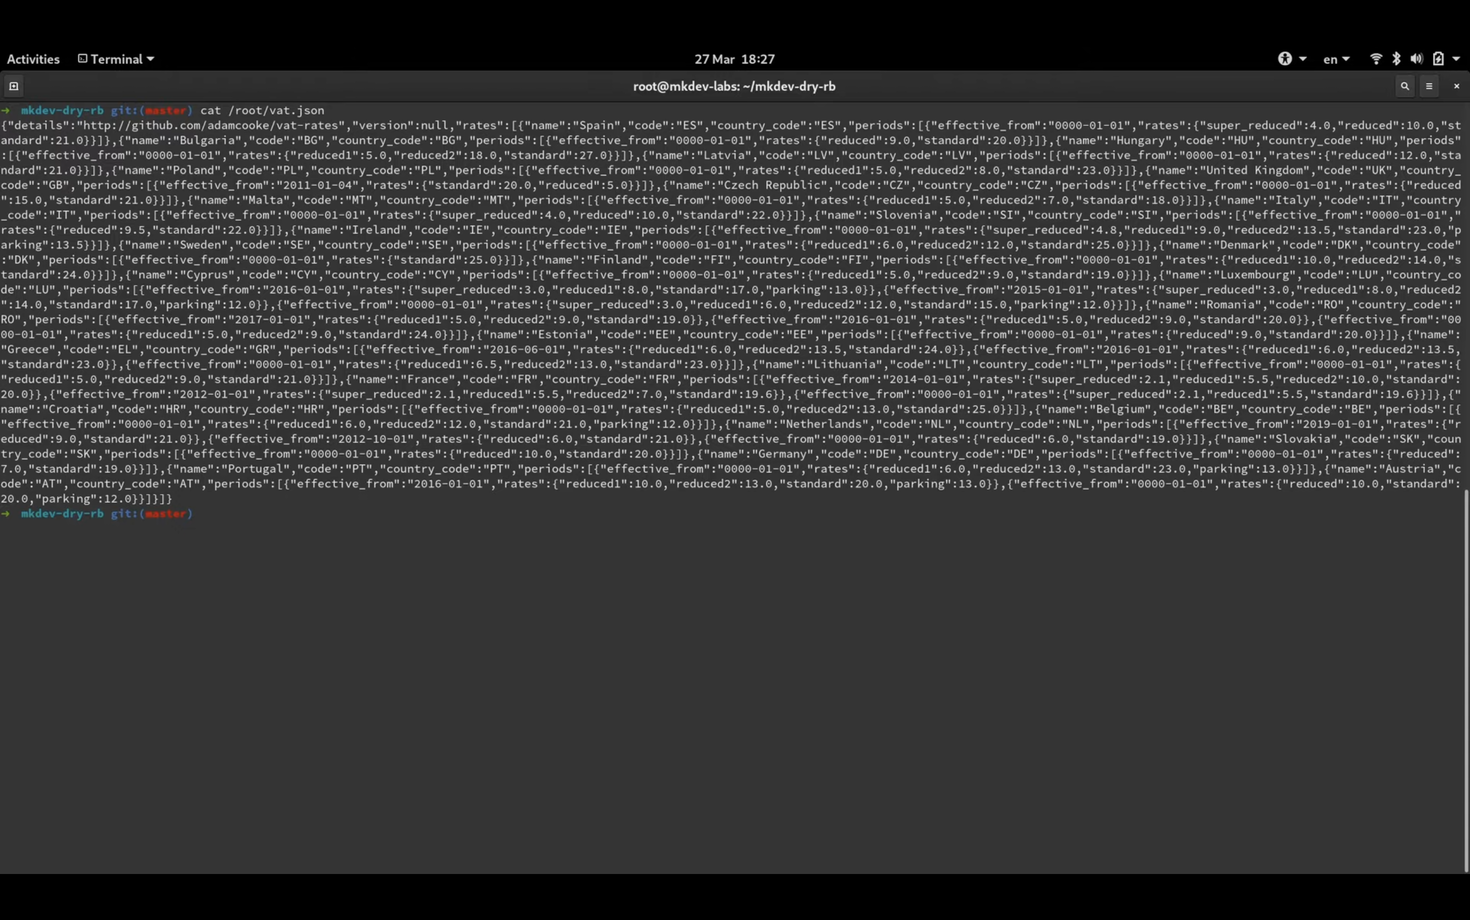
Now I can just pipe it to pp_json alias and it will give me a pretty output:
I can also validate if this json file is in fact a valid JSON.
cat /root/vat.json | is_json
extract
extract plugin is a small time saver when you need to unarchive some tar or zip file.
It's just a bit nicer way to do this kind of thing, mostly because you don't need to memorize individual commands, you can just use the same for different types of archives.
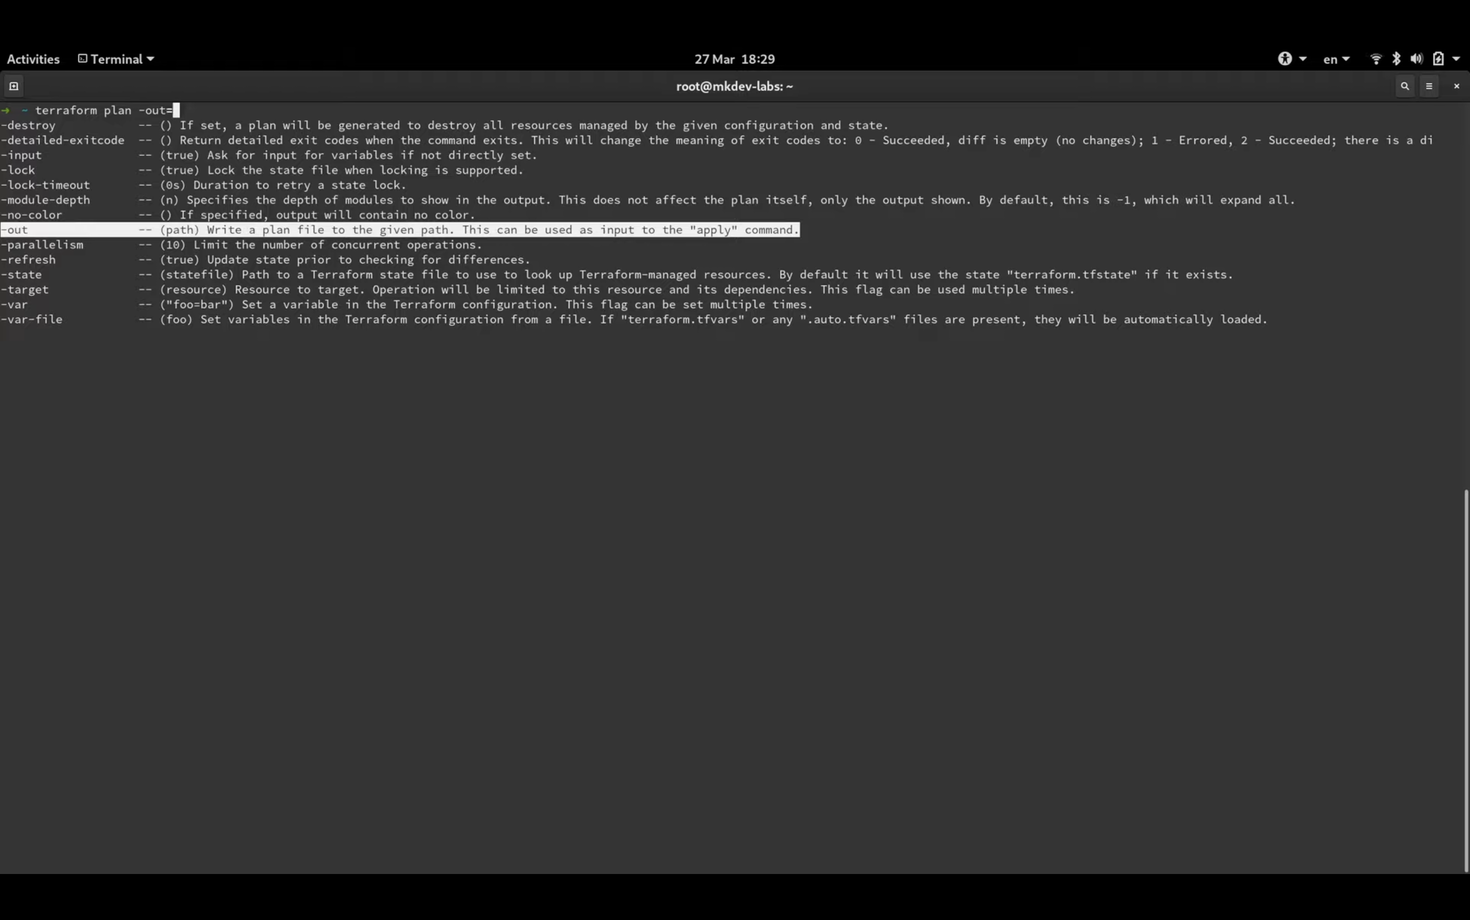
terraform
Finally, I added Terraform plugin to give you another example of useful auto-completions.
With this plugin I can quickly list all the Terraform commands
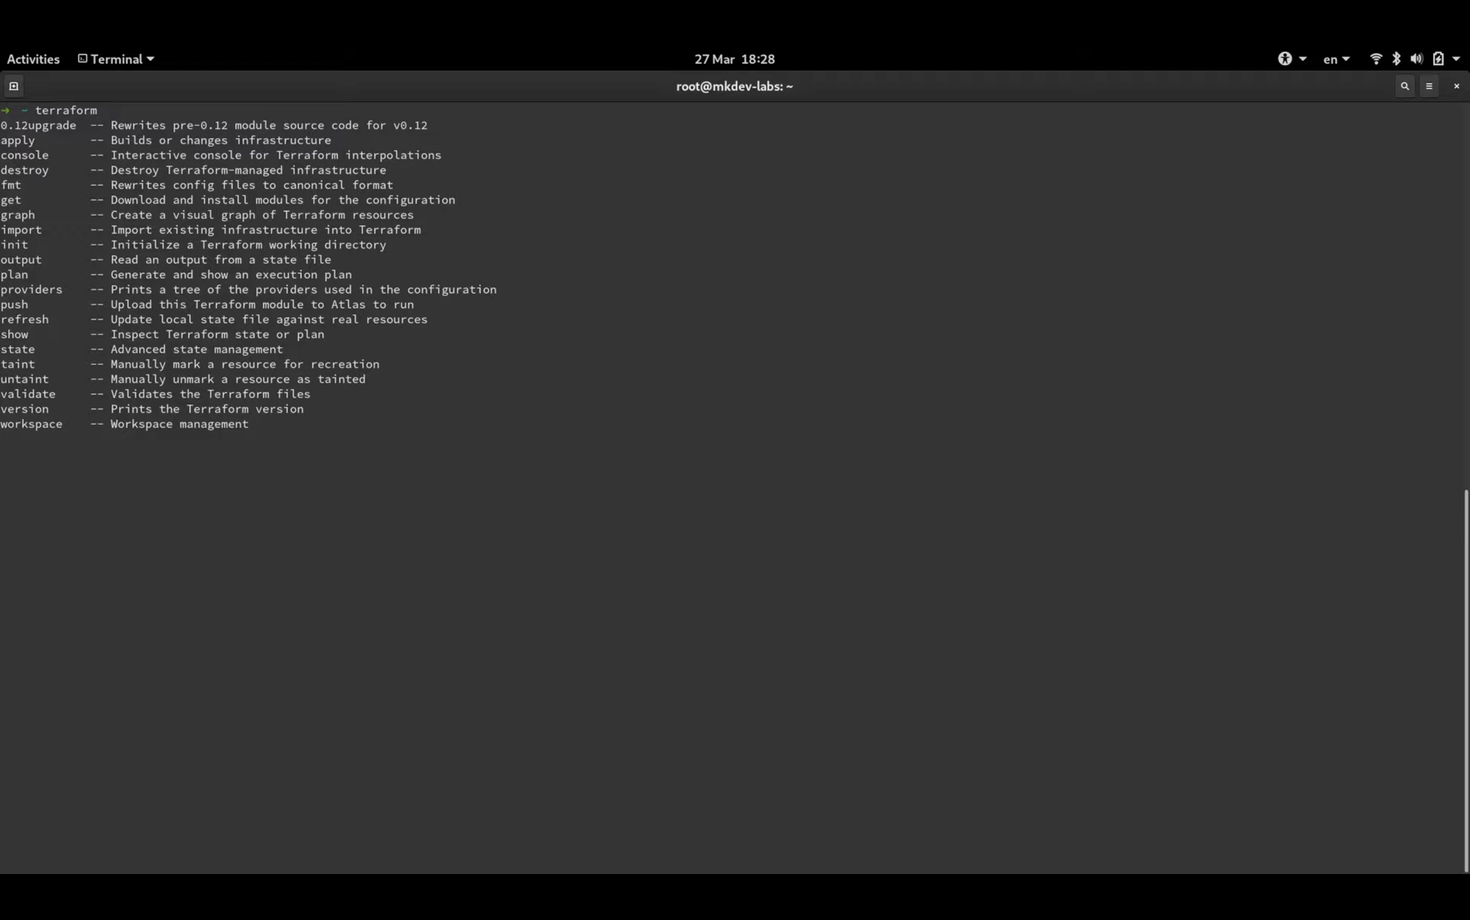
and I can also get autocompletition for command line arguments. This is a bit more convenient than just jumping between terraform --help commands and running actual commands.
Janus
The second and the last tool I want to show you is Janus.
Janus is a Vim distribution, which basically means "Vim with lots of plugins included".
During my career, there were years when I used Vim and periods when I used Sublime Text.
I made a fair attempt at using other editors, like RubyMine, Atom and VisualStudio Code, but none of them really clicked with me.
Many years ago I finally switched back from Sublime Text to Vim and since then never looked back.
And the reason I stayed with Vim ever since was Janus.
My main problem with Vim has always been the need to configure it.
To get the most basic features like a file tree, quick file search, and proper code highlighting I always had to spend way too much time installing plugins amd configuring them to work for and not against me.
I am aware that I could just automate this setup once and never have to repeat it.
But again, as much as I love automation, in this particular case, I never felt like doing it.
I always wanted the simplicity and convenience of Vim bundled with minimal IDE-like features.
Then a colleague of mine recommended me Janus which gave me exactly this.
Same as with OhMyZsh, complete installation is done with a one liner:
curl -L https://bit.ly/janus-bootstrap | bash
I also need to assign leader key to something convenient to me, by changing vimrc file.
You can see here that it was already modified by Janus installation to setup different plugins.

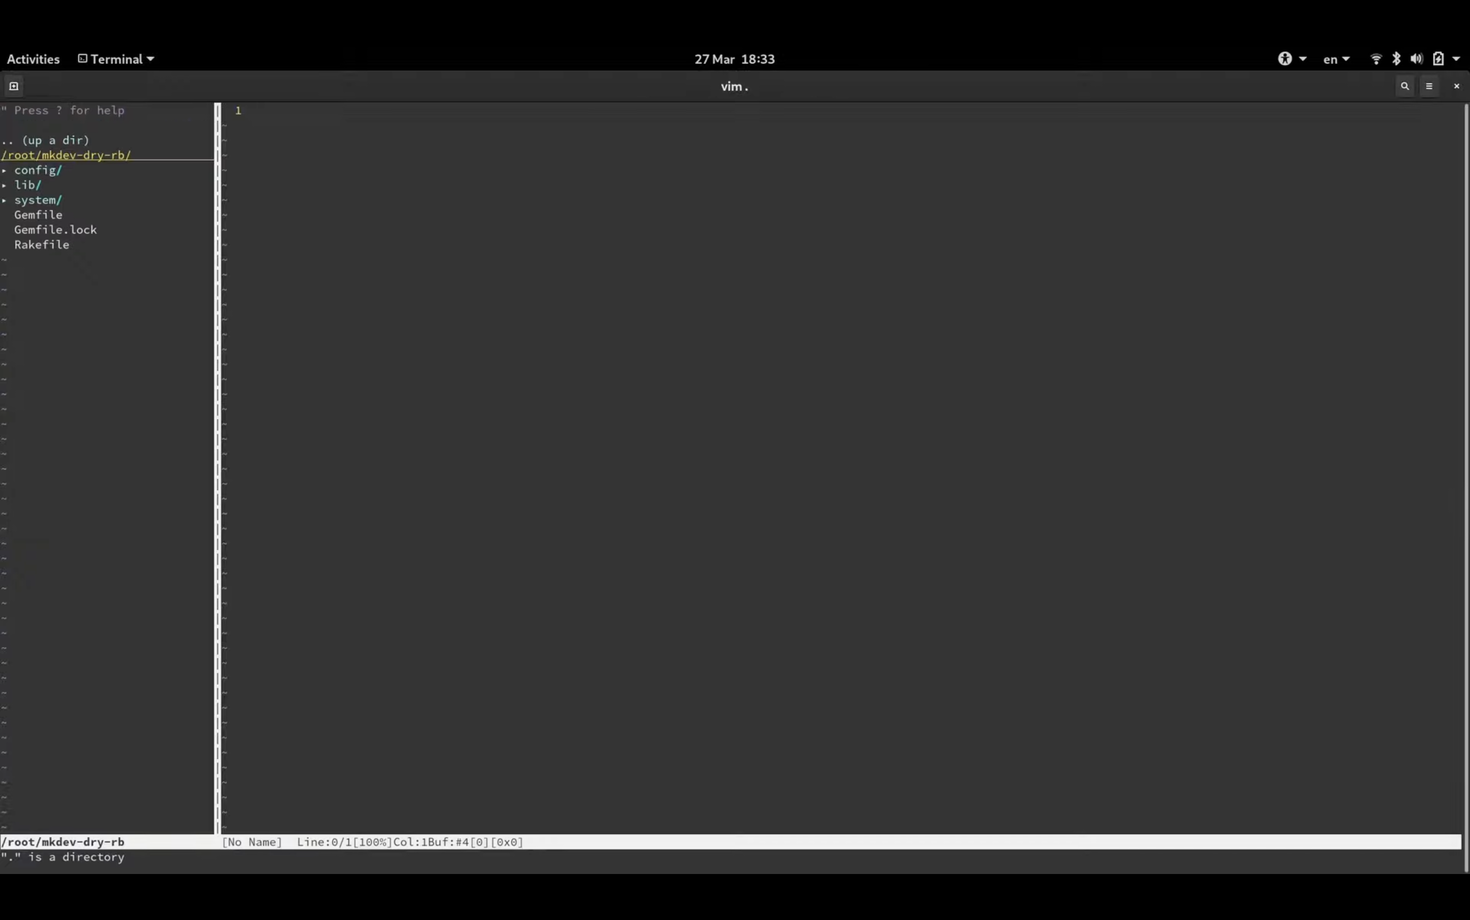
Let's use the previously downloaded repository for the demo, as it's an actual code repository.
When we start vim, we instantly get NerdTree open, as it's already pre-packaged and configured.
I can hide it with a shortcut and bring it back.
Let me now open some file.
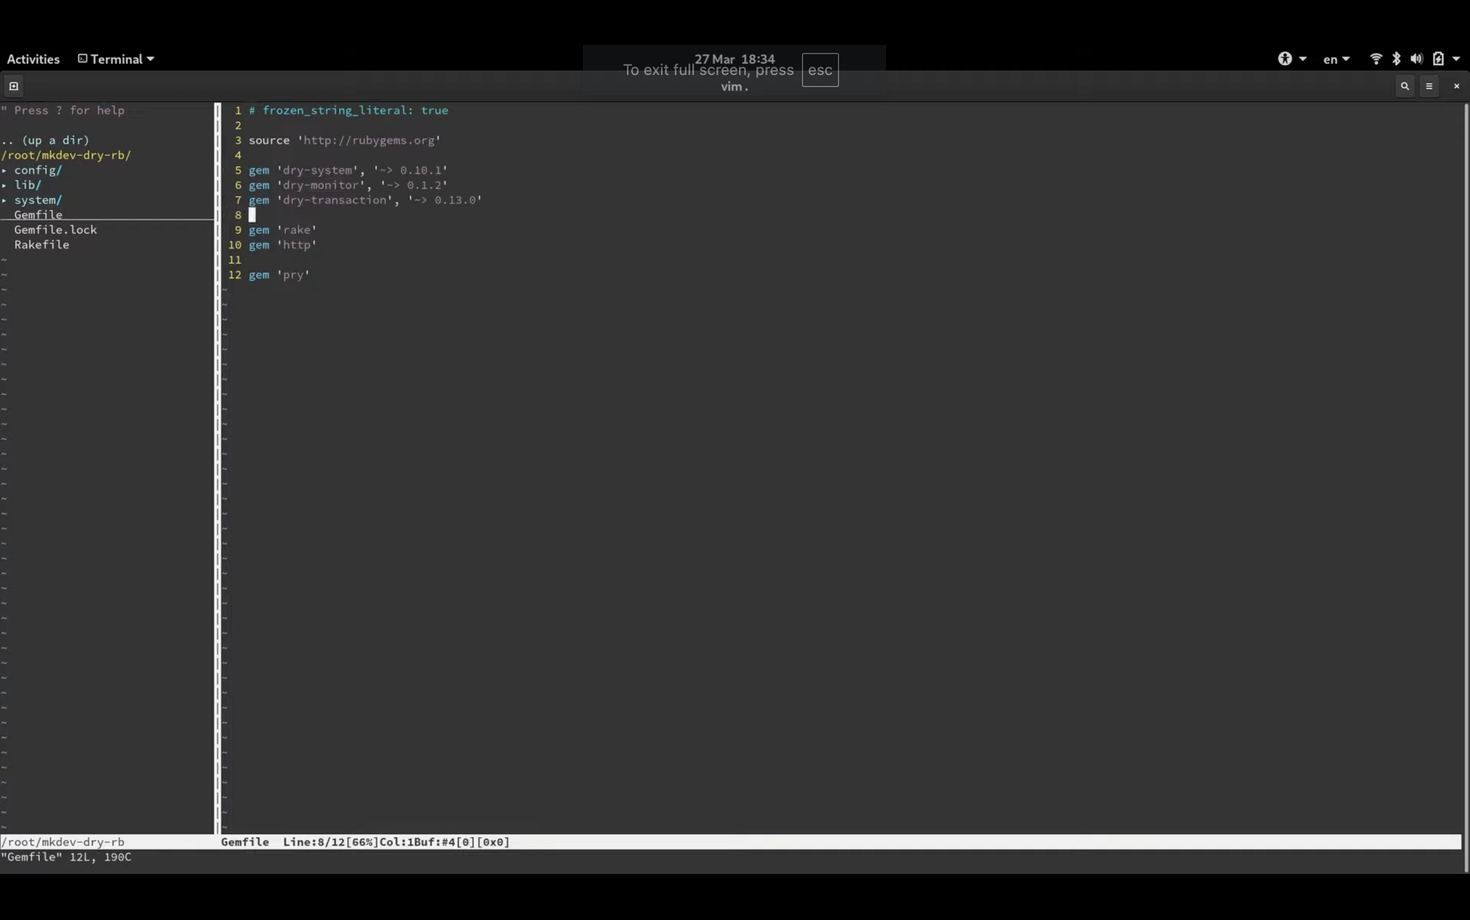
You can see that I already have syntax highlighting pre-configured.
I could also change the color theme to something different, but I personally like the default one.
There is also a quick search built in, so when I run ctrl+p I can filter through files and jump to the one I need.
When I modify and save this file, git plugin with highlight the changed lines - you can see the small green cross next to the line number.
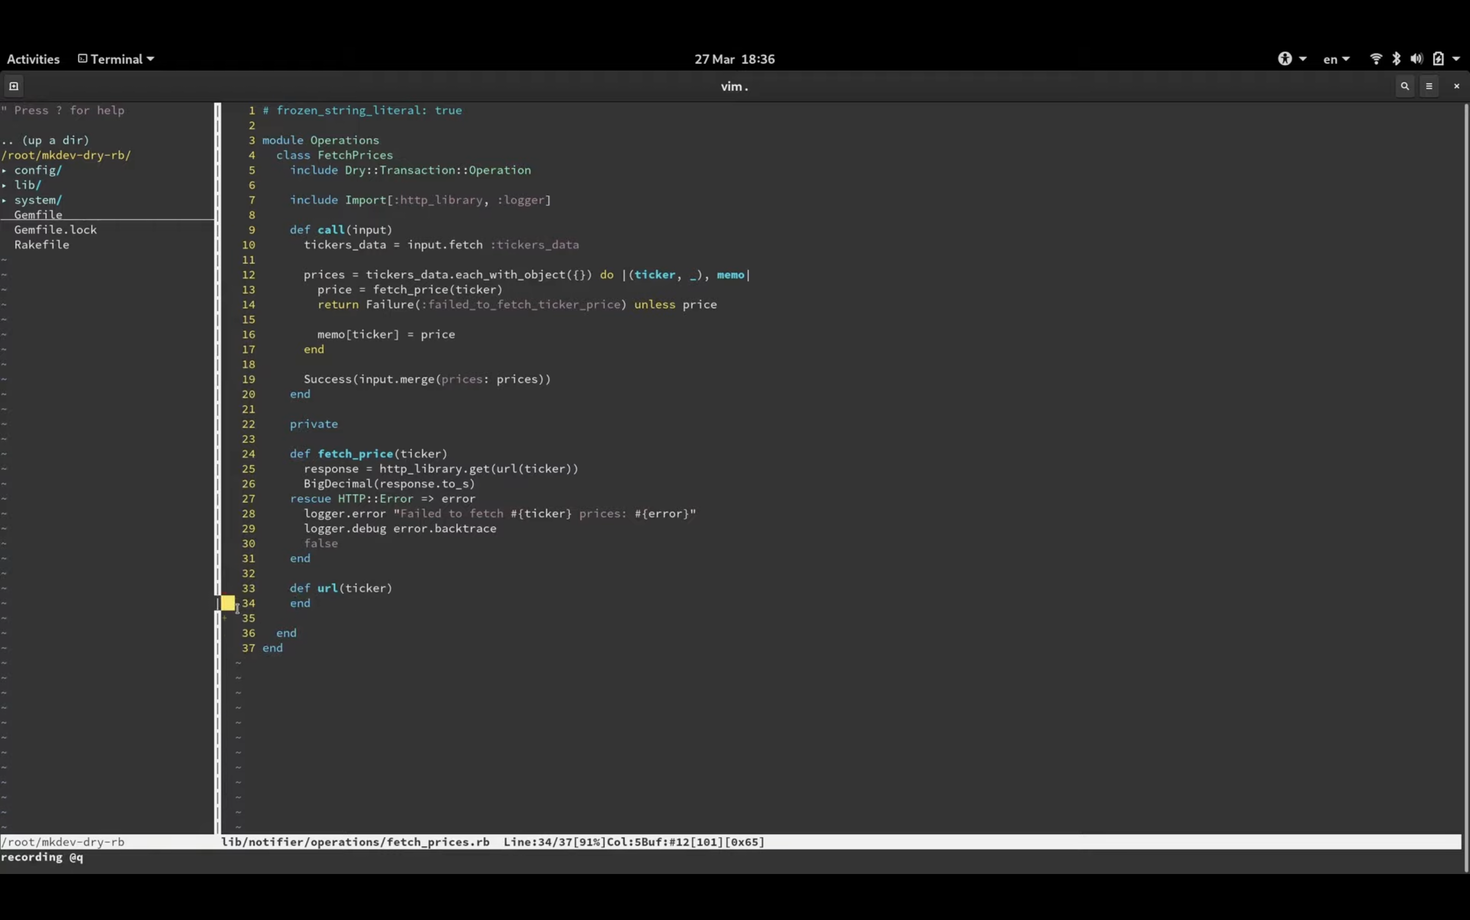
To see the full diff, I could also run :Gdiff command.
If I type a class name and press tab it will offer me auto-completion for existing classes and methods.
Same as OhMyZsh, Janus has a lot of plugins pre-installed. I personally don't use all of them, but the ones I do use are huge time savers.
Of course, nothing stops me from installing and configuring all of these plugins myself, without Janus. But why would I spend time on it?
Conclusion
And that's everything I wanted to show you today.
As I mentioned, both OhMyZsh and Janus are basically my default setup.
I rarely configure anything extra except installing those two bundles, because they cover 90 to 95% of my needs.
Of course, I always need to install some specific packages and tools, depending on the project I am working on.
But as for the routine daily work of writing the code and using the terminal, I never felt a real need for something more that these utilities provide.
I hope you will find these tools useful or at least give them a try.
Here's the same article in video form for your convenience: